For trips within Europe (at least until Brexit – who knows what will happen after that), you should also carry a European Health Insurance Card (EHIC; what used to be known as the E111) for your child. This entitles them to state-provided healthcare across the European Economic Area and Switzerland; treatment is usually free, as it is in the UK, but in some countries you might have to pay a small upfront charge (usually refundable by your travel insurer, should you wish to claim).
A EHIC is not an alternative to travel insurance – it doesn’t get you access to private healthcare, won’t get you flown back to the UK and doesn’t cover things like mountain rescue – but it’s actually a requirement of some travel insurance policies, and is very handy to have as it means you can access healthcare fast, no questions asked. For more information on buying travel insurance for your child, take a look at my recent post on the subject.
The EHIC is free, though there are plenty of dodgy websites that will charge you for one. The official government EHIC website is a bit of a pain to use – if you’re applying for your child, you register as the main applicant, and then add her details when asked if you need any additional cards (this comes so late in the application that I gave up hope several times; it’s not very intuitive, but stick with it and you’ll get there in the end). You’ll need your NHS or NI number.
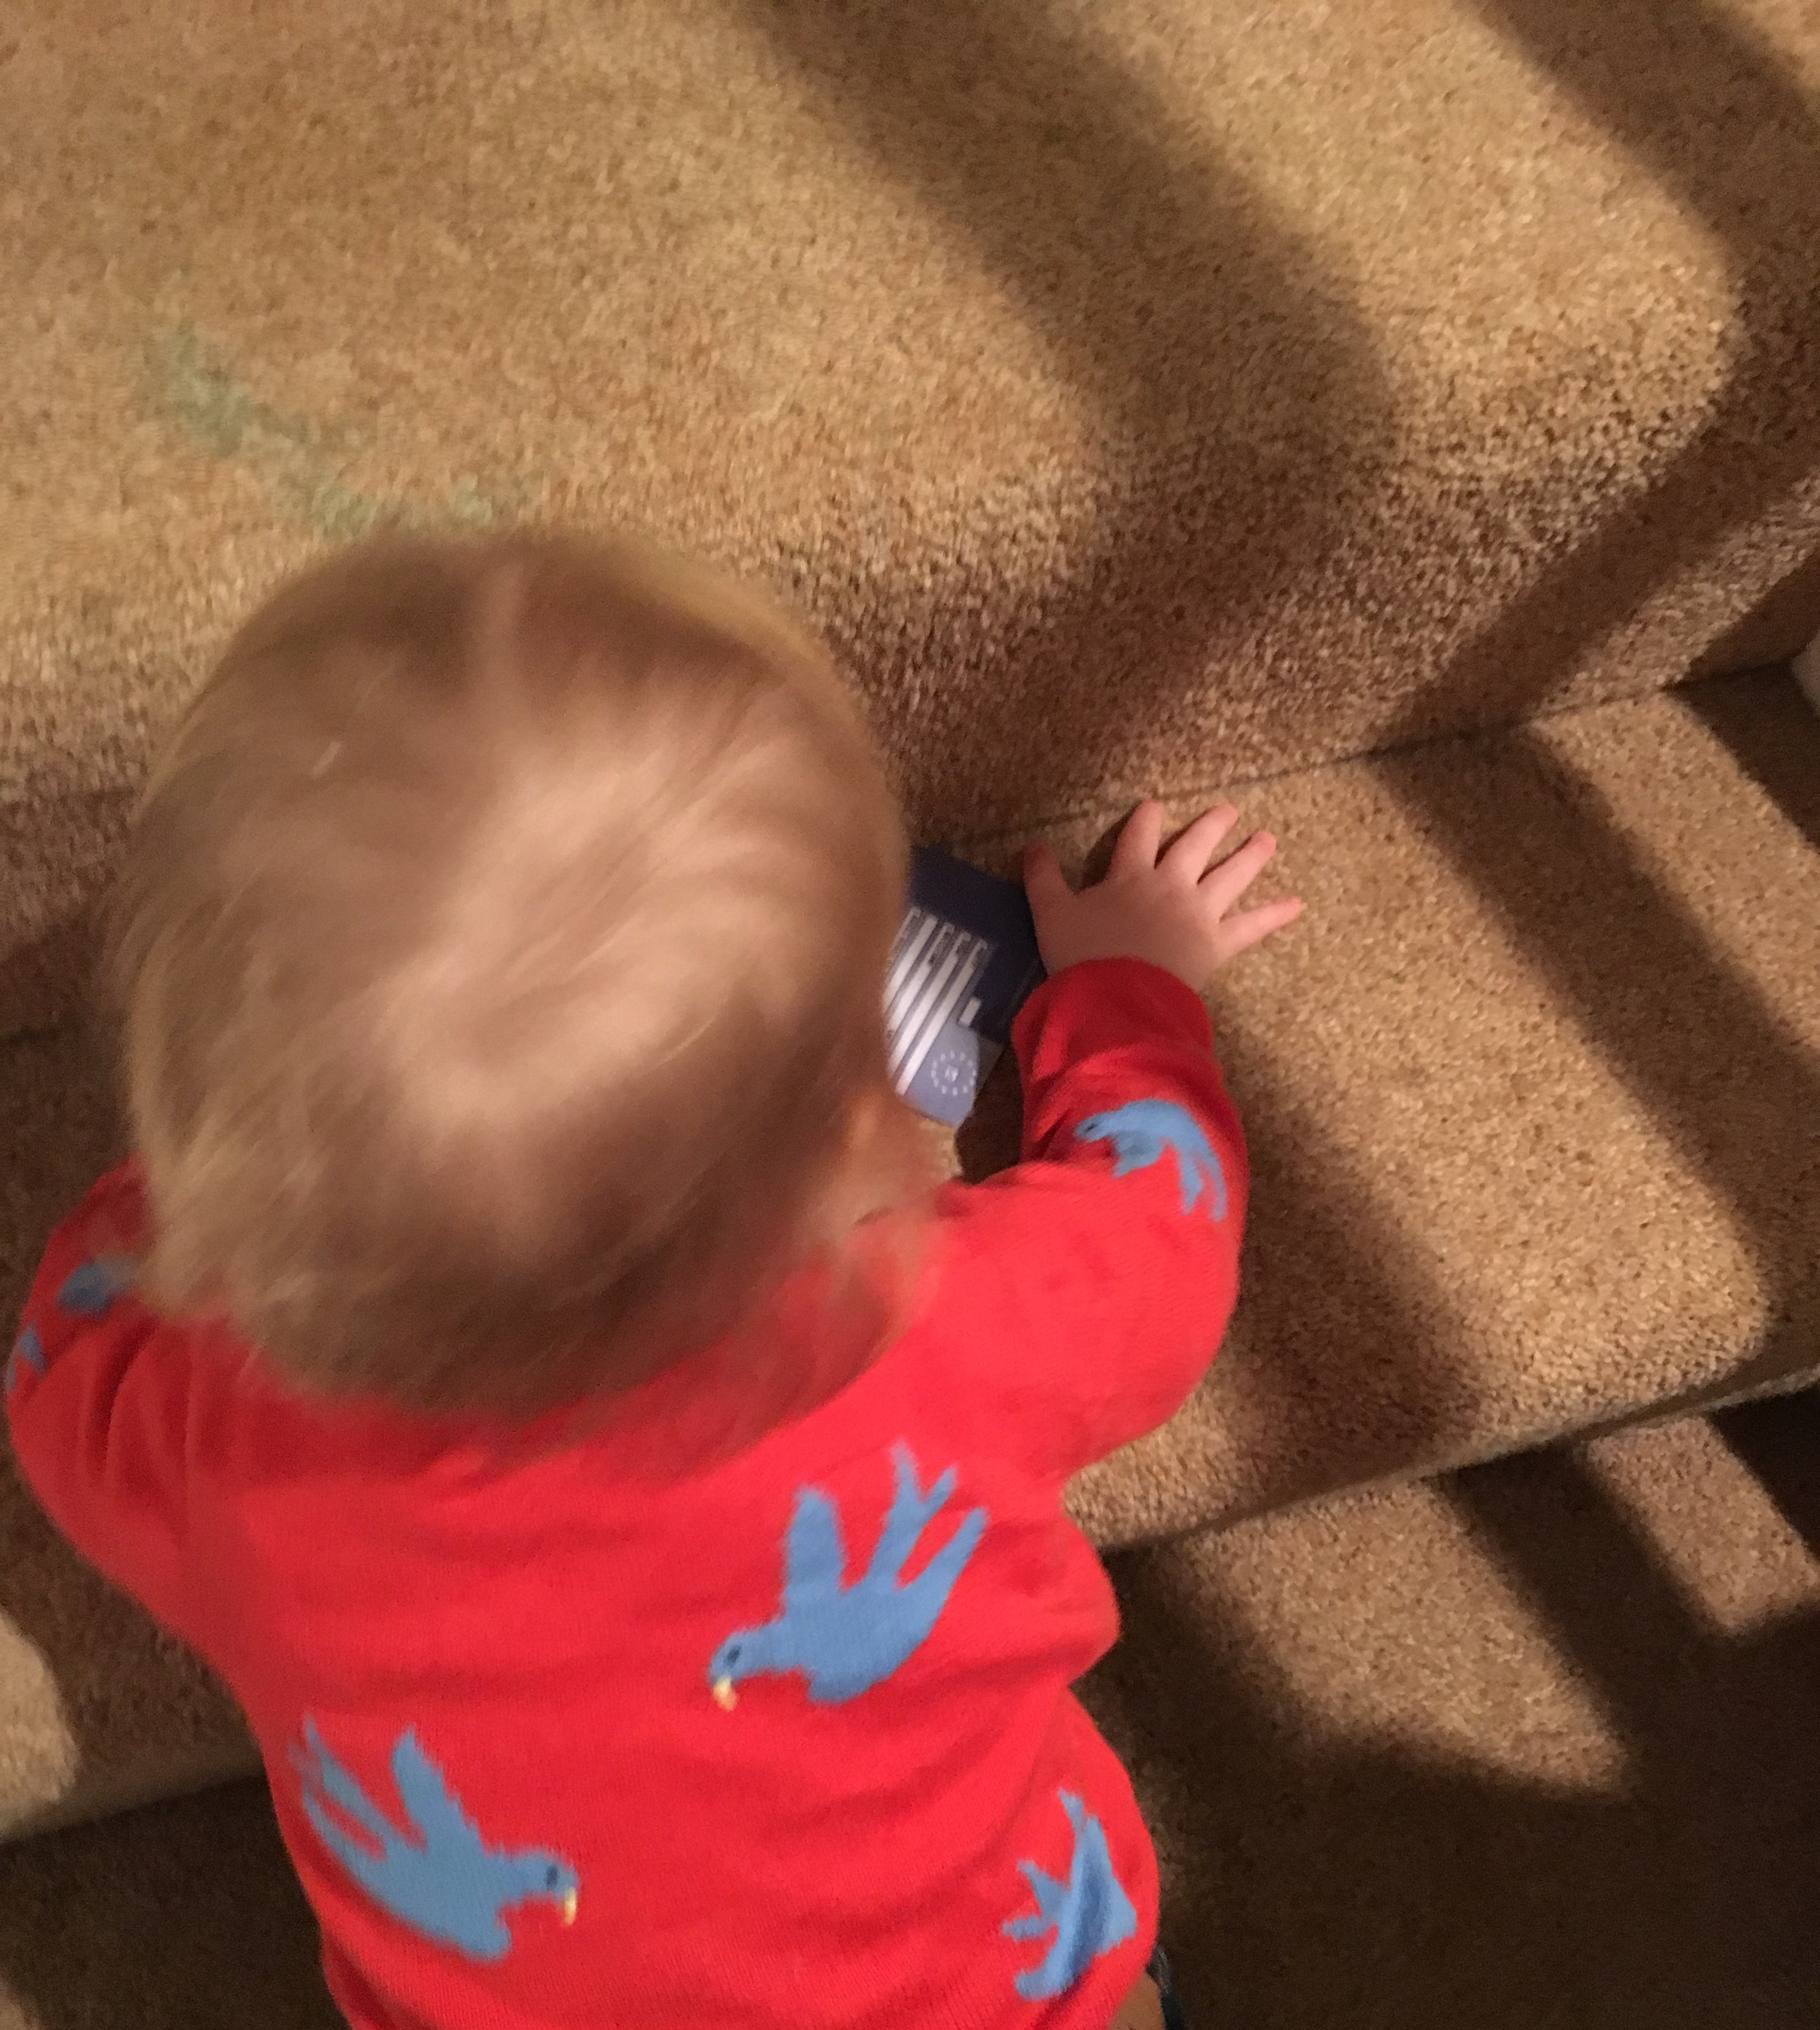
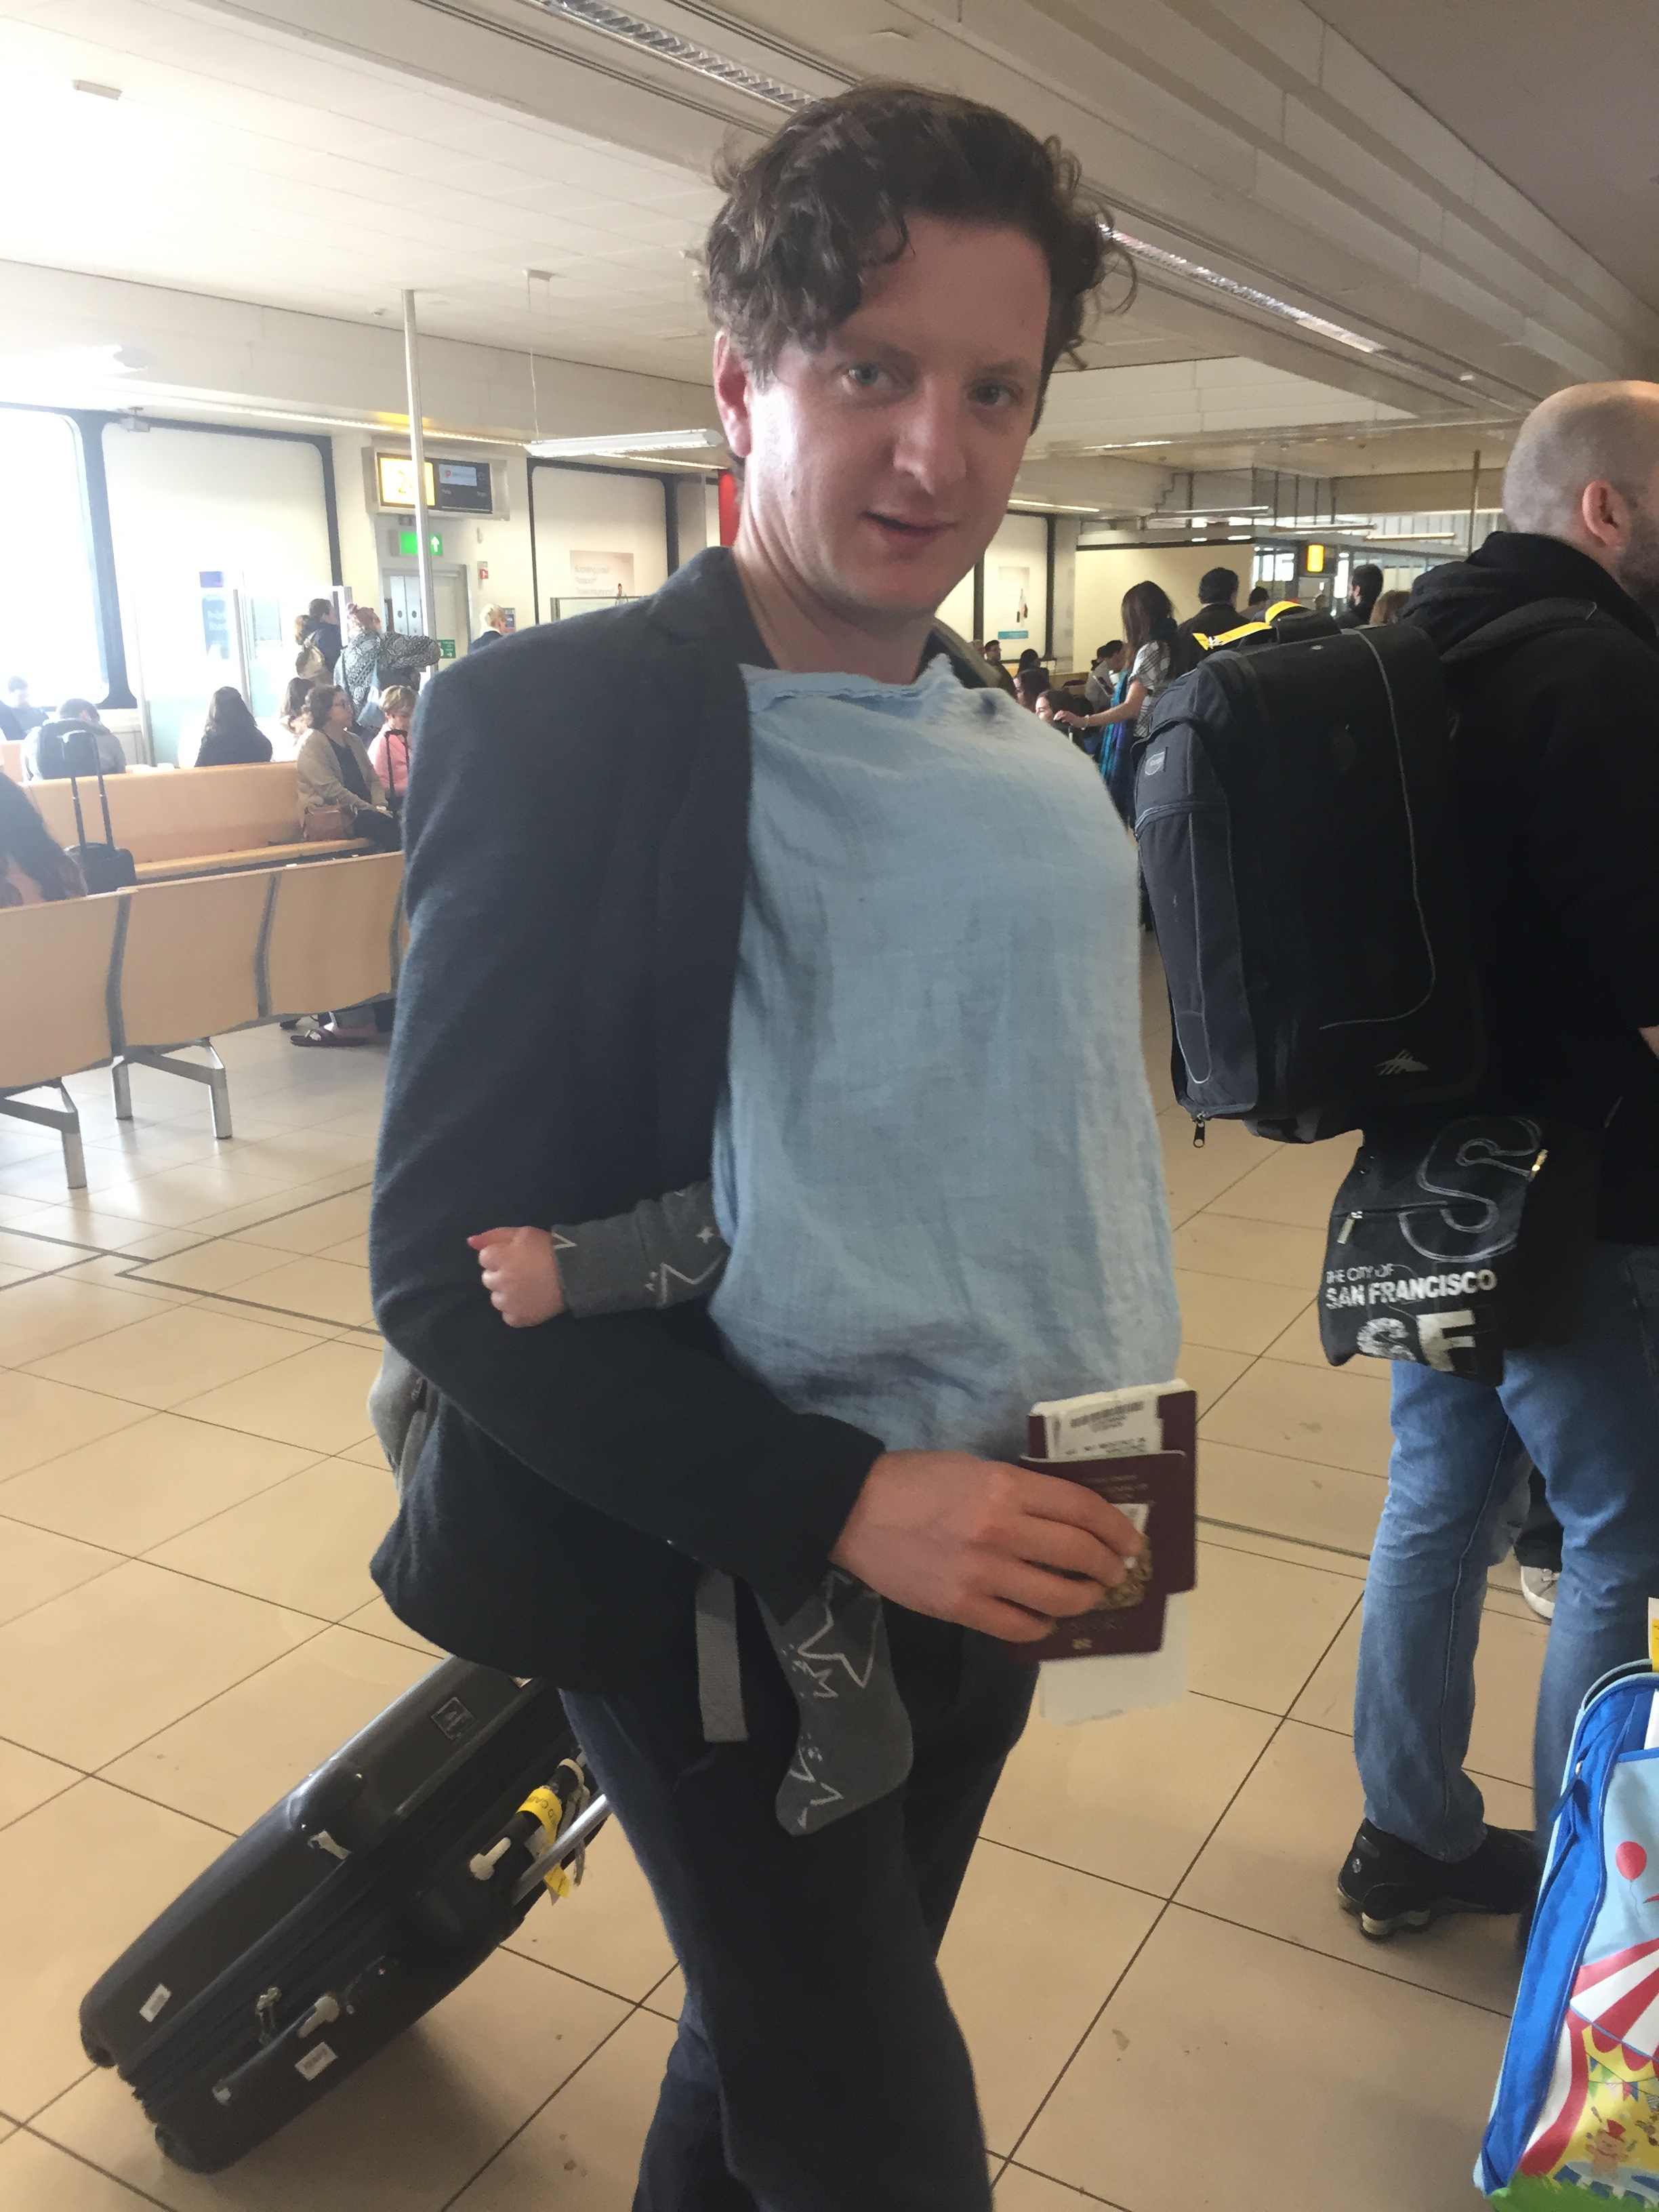
The baby girl playing with her dada’s EHIC card. This photo was in no way staged.
The good news is that a lot of travel insurance policies cover children for free (some up to the age of two, some right up until 16 or 18). The bad news is that even if yours does, you still need to get in touch with your insurer before you travel to ensure that your baby or toddler is included on the policy by name. You’ll need to give them your baby’s date of birth too, and tell them about any pre-existing medical conditions – epilepsy, for example – as these might affect the premium. Children insured for free are usually only covered when travelling with the policyholder, so check with your insurer if you’re planning on sending your toddler off with another family member.
If you’re buying a new policy, you’ll include your child’s details in the same way that you would your partner’s when buying a couple’s policy. Something to look out for is whether the policy covers cancellation in the case of one of the travellers falling ill before departure. Fingers crossed your toddler doesn’t come down with a horrible bug on the eve of a holiday, but if she does, and going ahead with the trip is impossible, you really don’t want to lose all the money you spent on flights, hotel, car hire, etc – the cancellation of the trip would be grim enough all by itself; you don’t want to compound it with financial stress too. It’s worth buying travel insurance as soon as you book your trip so you don’t run the risk of being caught without coverage.
Most insurers will need to see a medical certificate signed by your child’s GP stating the reason she can’t travel, before they agree to settle the claim, as well as a form from the doctor about your child’s medical history.
A lot of policies will cover you for travel within the UK (including cancellations due to illness) but there are often stipulations you need to meet – such as staying away from home for a minimum number of days, or travelling a minimum distance from home – before coverage kicks in. Check before you travel.
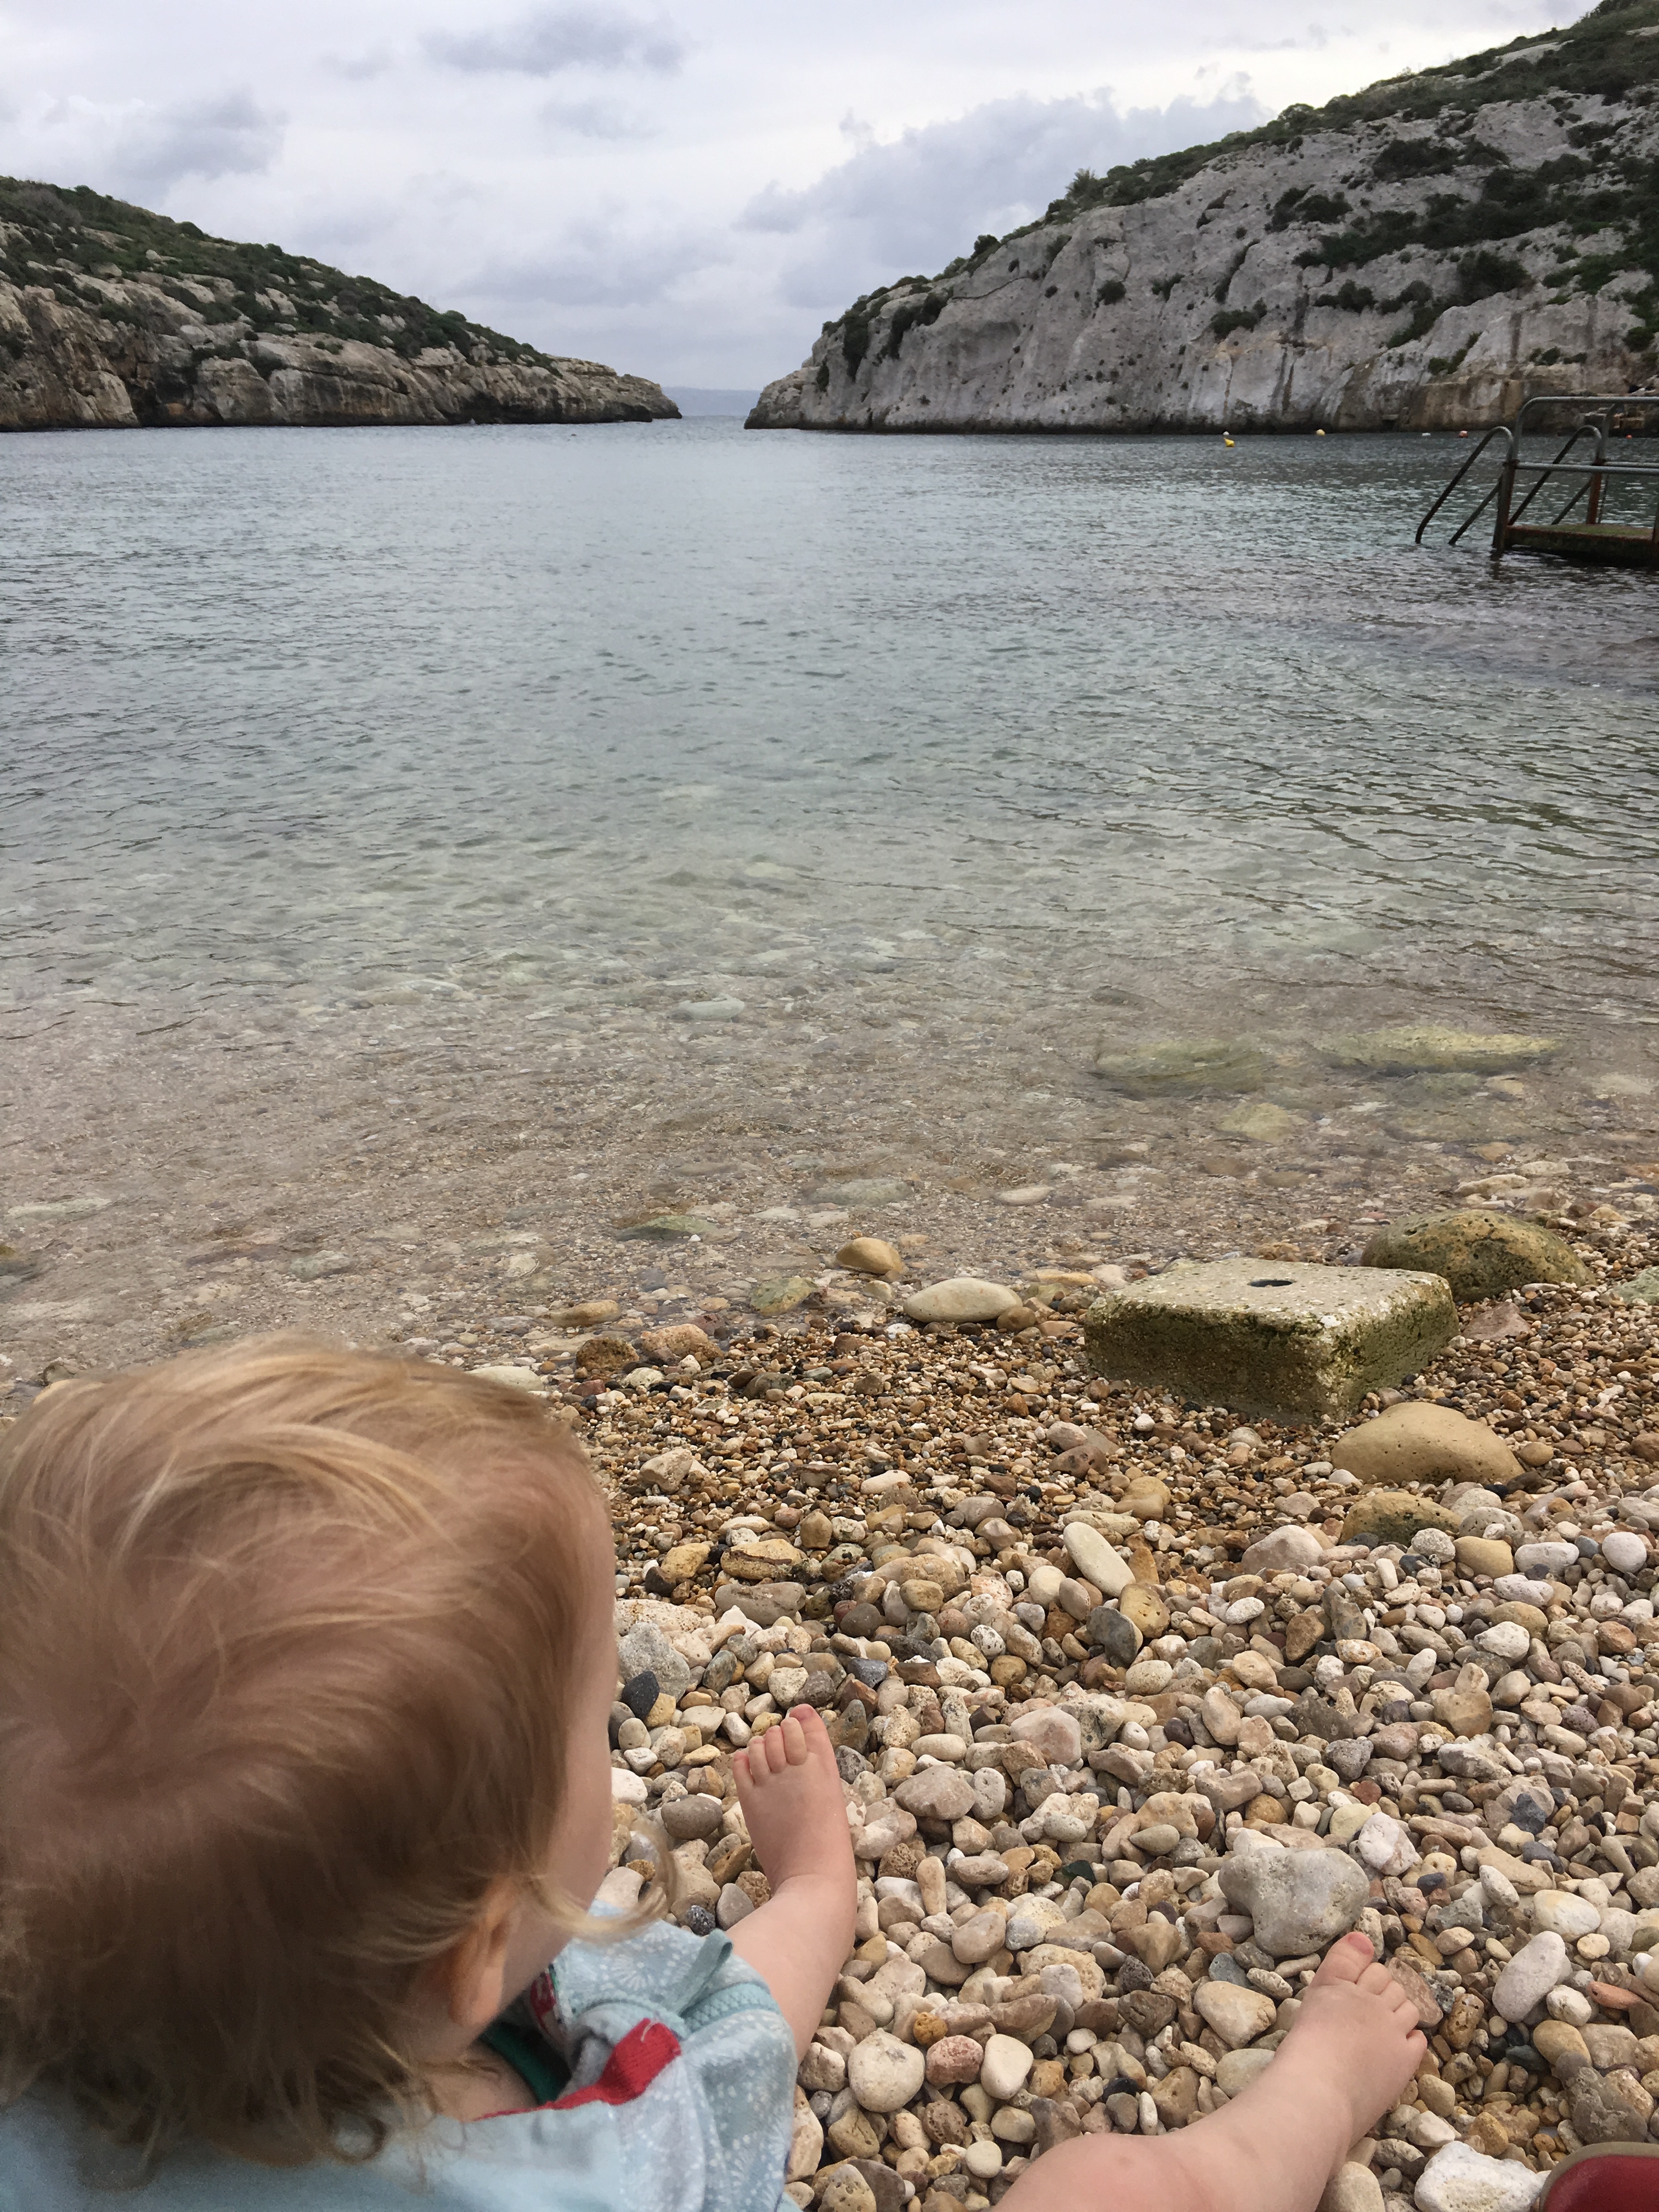
There’s no interesting way of illustrating the purchase of travel insurance, so here’s a picture of the baby girl enjoying herself at Mgarr ix-Xini on the Maltese island of Gozo in November 2017 instead.
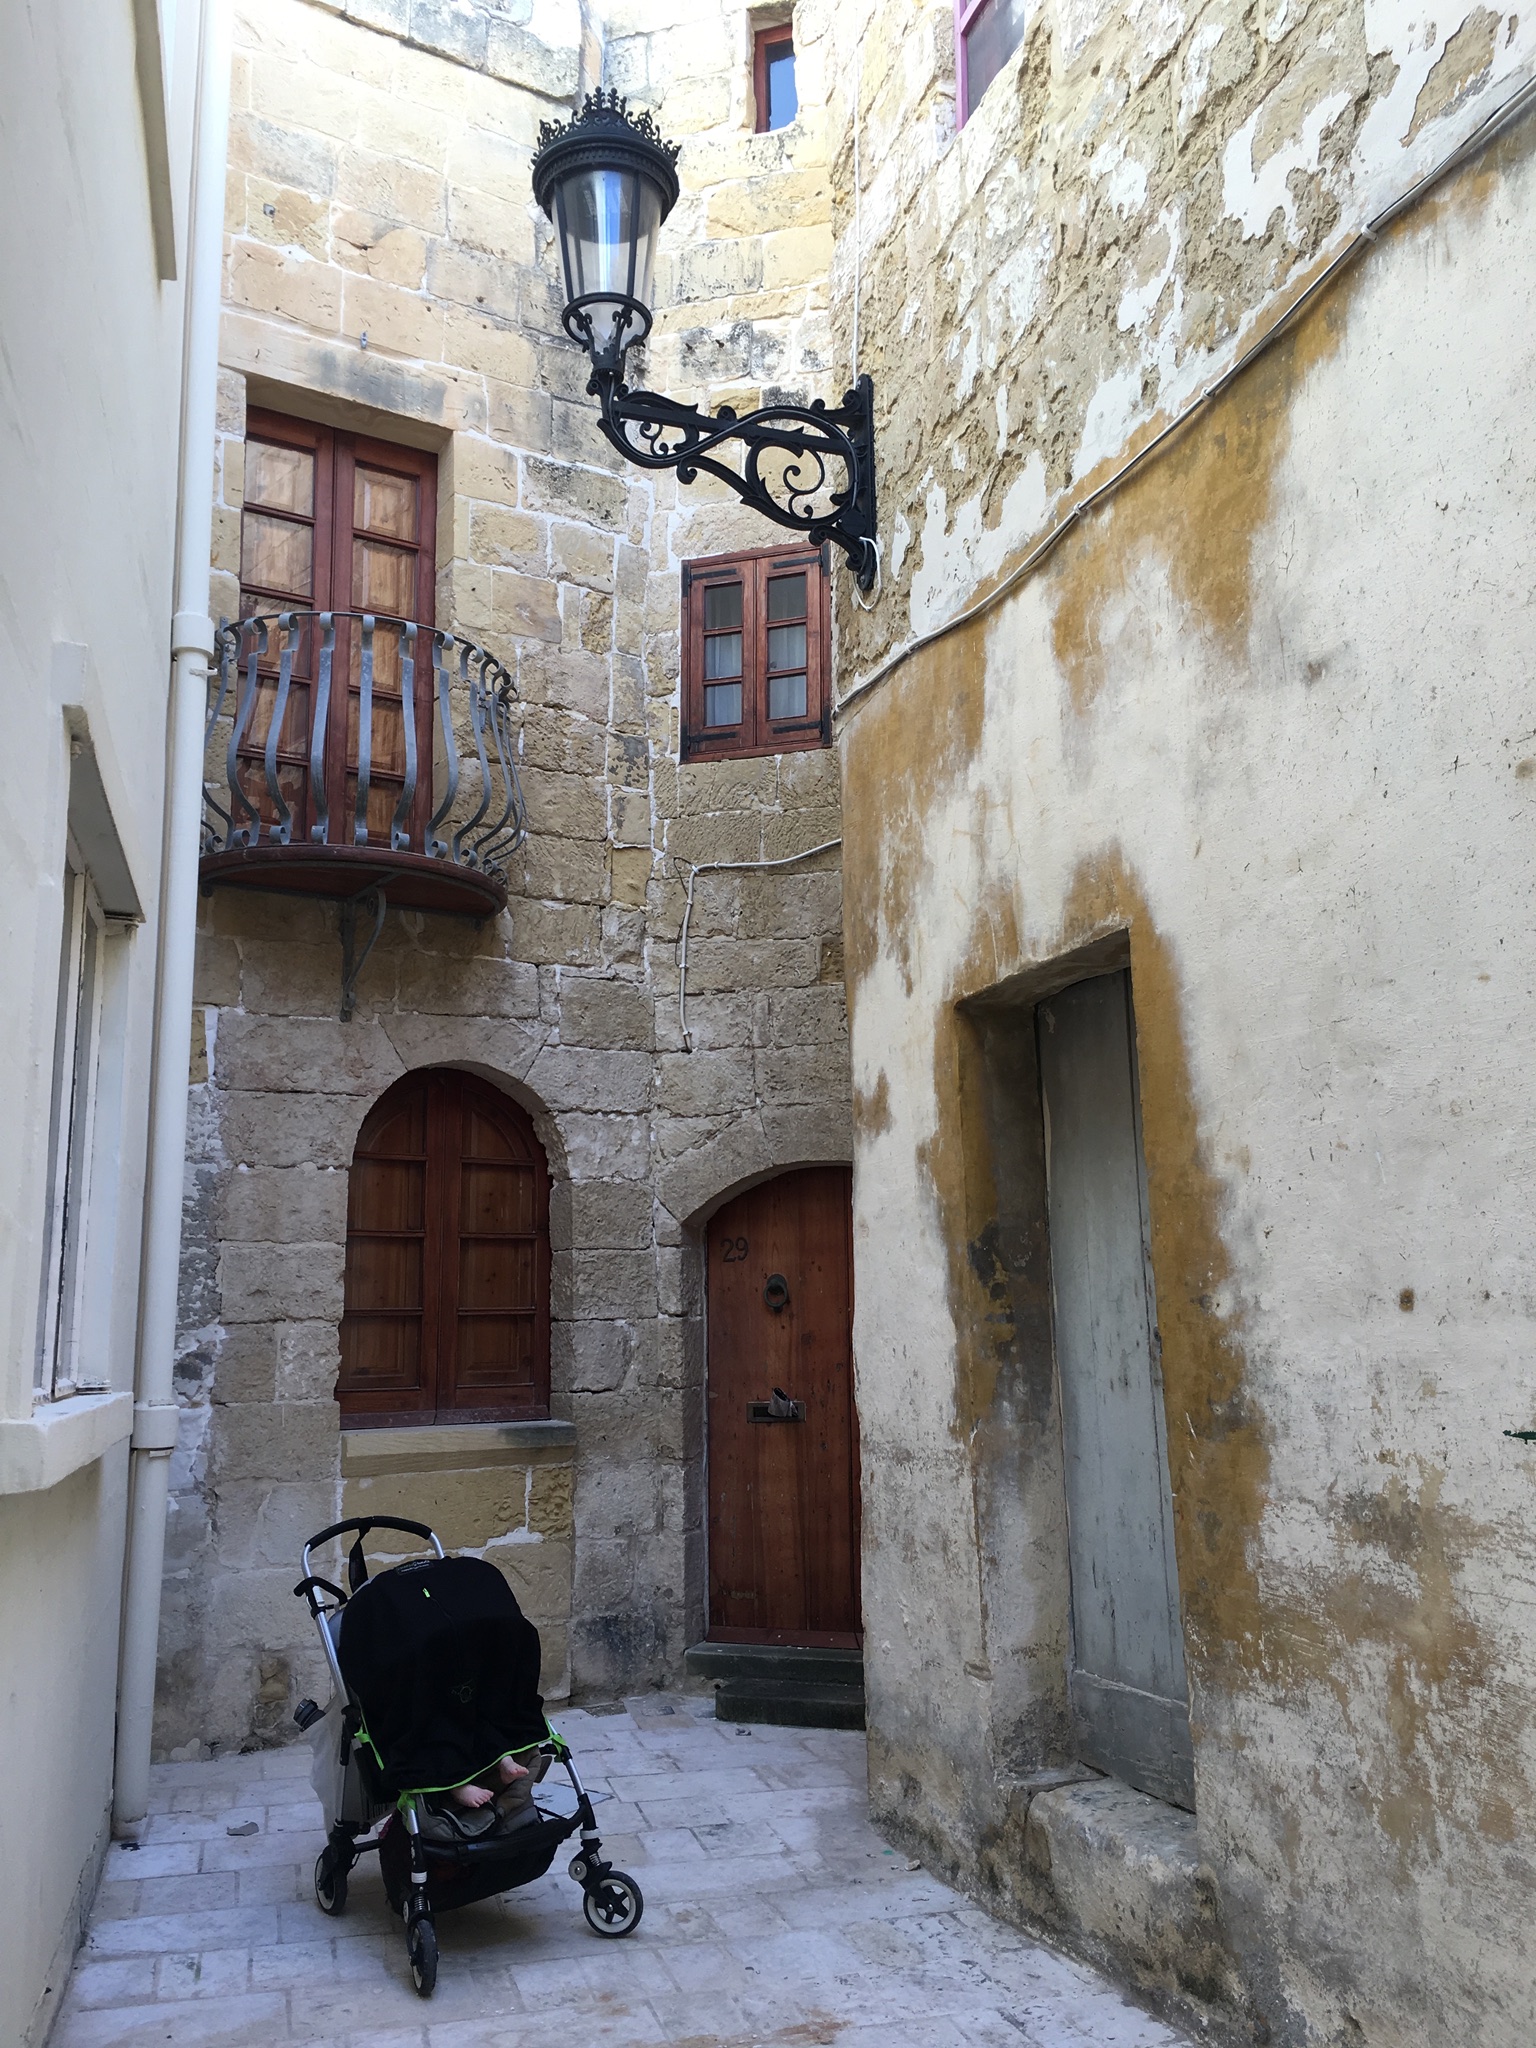
A friend gave us a SnoozeShade before I had the baby girl and it’s something we use every time we go baby adventuring, whether just around the corner or far from home. It’s not a complicated bit of kit – it’s basically just a piece of breathable UV-protective black fabric that you put over the pushchair when you want your baby to sleep – but is no less effective for its simplicity. There’s a zip down the front for peeking in at your hopefully sleeping child and Velcro tags to attach it to the pushchair – they do the trick even in very strong winds, we discovered last month, when the village where we were staying on the Maltese island of Gozo was battered by a storm that nearly swept us off our feet on the way out to dinner one evening.
It took a few attempts to get the baby girl accustomed to the idea of going to sleep when the SnoozeShade went on, when she was just a few weeks old, but it’s worked a treat ever since. We give her a kiss, put one of her special cloths in her hand, tell her ‘night night’ and put the SnoozeShade over. Zzzzzzz.
If we had done more car journeys with the baby girl when she was still in her group 0+ car seat I might have considered getting the car seat SnoozeShade too. As it was, we made do with the pushchair one – it’s not a great fit on a car seat but it did the job.
Air travel is a wonderful thing, but airports are a pain. I like the teeny tiny ones where you can arrive 20 minutes before your flight, but all the others make me wish I was taking a train instead. Add a baby or toddler to the mix and you’ve got the potential for a pretty wearying – not to say stressful – experience.
The key is to leave plenty of time so you’re never in rush. That might mean quite a bit of waiting around – which, let’s be honest, isn’t ideal with a baby or toddler either – but at least you stand a good chance of boarding your flight calm, contented and ready for whatever the next few hours hold (I’ll be covering flying itself, as well as airport transfers, in separate posts – sign up to my mailing list so you don’t miss them).
The one benefit of travelling with a baby or toddler is that airline check-in staff are almost always nicer to you than if you’re checking in alone. I get the sense that they’re more willing to turn a blind eye to a couple of kilos of extra weight here or there, on the understanding that babies require a lot of stuff. (Though now I think of it, the baby girl has always been remarkably cheery at check-in desks – who knows what treatment we might get if she was being a grump.)
Infant baggage allowance varies from airline to airline, but most let you check in two or three items of baby equipment free of charge, usually including a pushchair, car seat, travel cot and backpack carrier. You’ll want to check your airline’s policy before booking so you don’t get any nasty surprises before departure. Check in your pushchair and car seat at the desk or, if you’d prefer to have them with you as you go through departures, get them tagged at check in and leave them with airline staff when you reach the gate. At some airports you’ll be able to send your baby equipment through with the rest of the luggage, but at others you might be asked to drop it off in a different area.
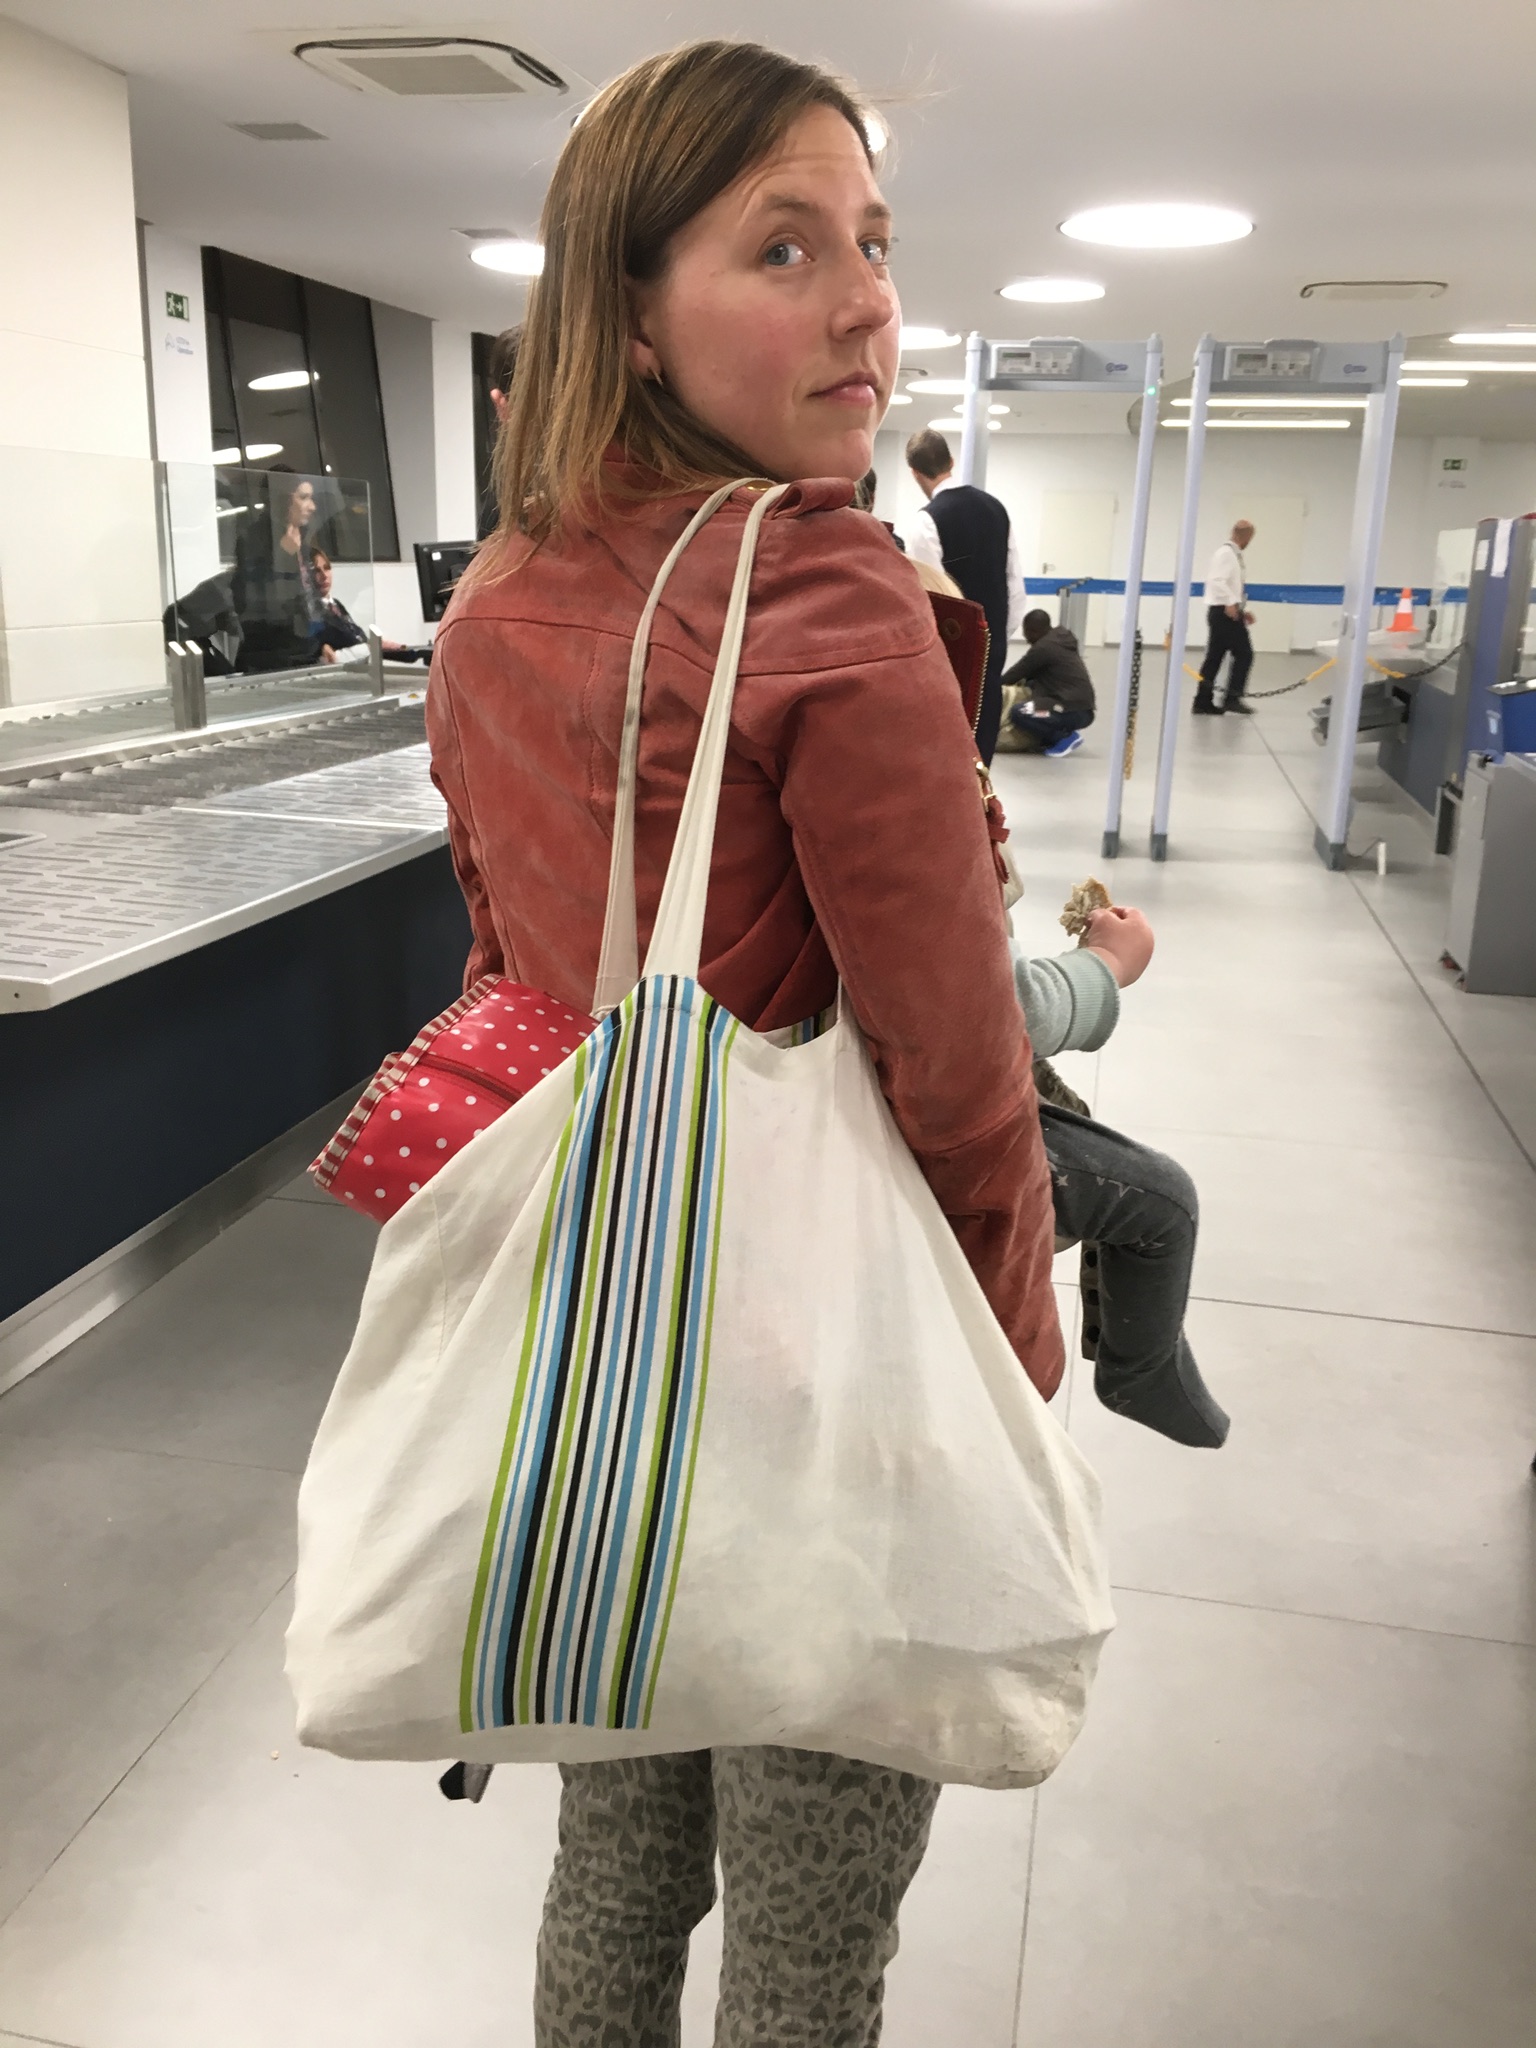
Whatever you decide to do with your pushchair, it’s a good idea to keep a sling handy. The first time I flew with the baby girl, when she was six-weeks-old, I kept the pushchair with me until the gate and didn’t end up using it at all. Airports are very stimulating environments and the baby girl was unhappy unless she was being carried. Also, travelling alone with her, getting the pushchair down the stairs from the gate to the tarmac was a real pain – fellow passengers helped out, but it wasn’t ideal. I’ve since learnt that you can request special assistance in advance for those situations, but these days I just check everything in and avoid the problem that way.
At security they might ask to x-ray your pushchair, car seat or sling, so be prepared to carry your child through in your arms, and make sure that if you there’s anything else in the pushchair it’s easy to lift out and put through the machine too. The last few times I’ve flown with the baby girl I’ve been able to walk through the scanner with her in the sling – if only I could remember to wear the sling under my jacket so it’s easy to remove.
Formula, sterilised water for preparing formula, cow milk and soya milk for babies are exempt from the usual rules about liquids in hand luggage, so you’re allowed to take them through security, as well as gel packs to keep them cool. They need to be removed from your carry-on so they can be screened separately (incidentally, you don’t need to be travelling with your baby to carry expressed breast milk through). The rules vary slightly from country to country, but security staff have always been understanding in this regard in my experience.
My final tip relates to food. You’ll obviously need to take enough baby food or milk to cover the number of meals or feeds you’ll be in transit for, but don’t underestimate the power of snacks either. Take as many as you can fit into your carry-on, so in the event of boring delays or just general grumpiness, you’ve got distractions at the ready.
A remarkably easy passage through security at Malta International Airport on the way back from our dive trip to Gozo, November 2017.
Almost every time we travel with our baby monitor we discover on returning home that we’ve left at least one part of it behind, necessitating either a trip to retrieve it or getting someone to post it back to us. The irritation we feel at our own idiocy is even more acute in those situations when the monitor hasn’t actually done its job, whether because the distances involved were too great, or the signal was blocked by thick walls or floors.
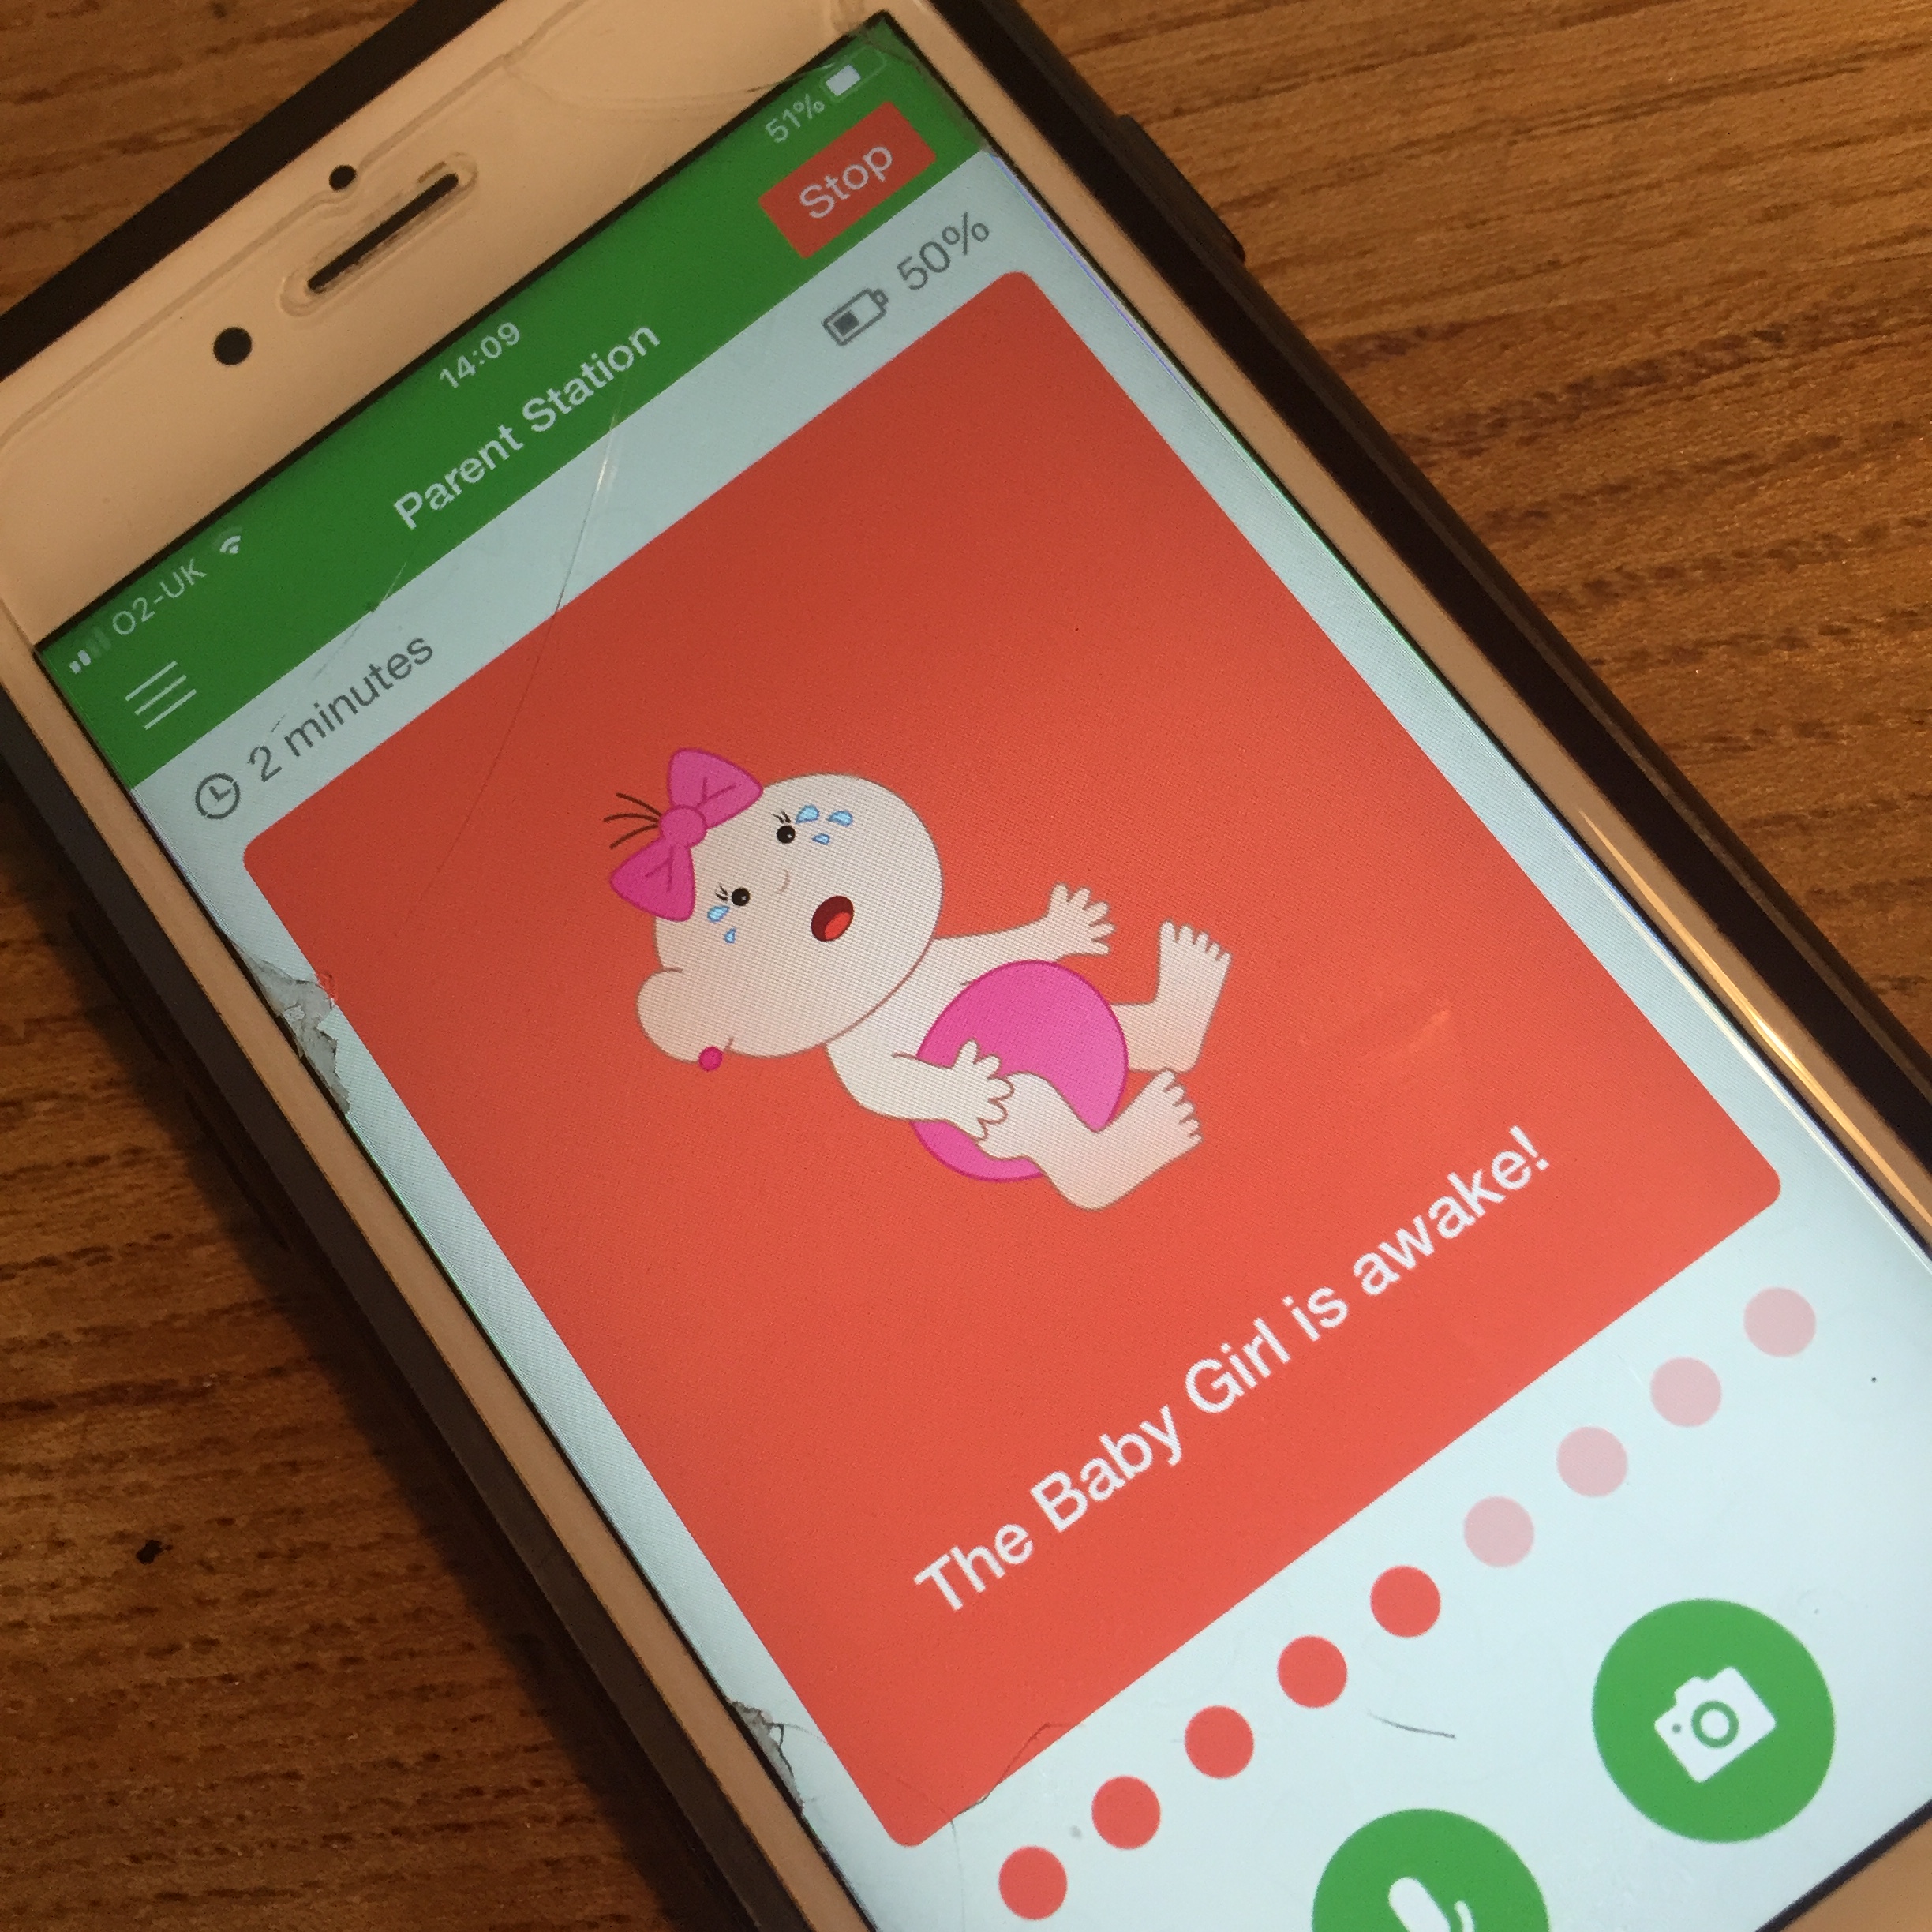
Fortunately, some friends introduced us to the Baby Monitor 3G app; not only does our regular baby monitor now stay safely at home when we travel, but we can be confident that we’ll be able to keep an eye on the baby girl in whatever situation we find ourselves in while on the move.
It’s extremely simple to use. You just buy and download the app on two devices – it’s available on Apple and Android phones, watches and tablets, plus Mac computers and Apple TV – and pair them, nominating one as the ‘baby station’ and one as the ‘parent station’. The app runs live video (or just audio, which uses less data) over wifi or 3G networks, and you can change the sensitivity of the microphone to suit the surroundings.
The app costs between £3.59 and £4.99 per device, plus any data charges if you’re using it over 3G, but that’s it – no in-app purchases or anything of that rubbish. Great for grandparents or other family members who only need a baby monitor on an ad hoc basis, and also for travel scenarios where you don’t have access to mains power, such as when camping.
When travelling by myself with the baby girl I take an old handset along so I can keep both my phone and laptop with me while still using the app. The spare handset is useful for travelling as a family too – god forbid one of us having to cope without our phone for the evening: how would we tweet about what a nice time we were having?
I’m very much a fair weather walker. Various members of my family will happily set off up a hill in driving rain, but if there’s not at least a reasonable chance of it clearing up in the foreseeable future, count me out. I like hiking, but being soaked to the skin on a cloudy mountaintop just isn’t my idea of fun. I tell you this to make it clear that hiking with a baby isn’t just the preserve of hardcore walkers. If you enjoyed the occasional hike before your baby arrived, don’t be afraid to give it a go now that she’s here; as with all things baby-related, it’s just a matter of being prepared.
Slings and backpack carriers
Our first proper experience of hiking with the baby girl, climbing Lingmell in the Lake District
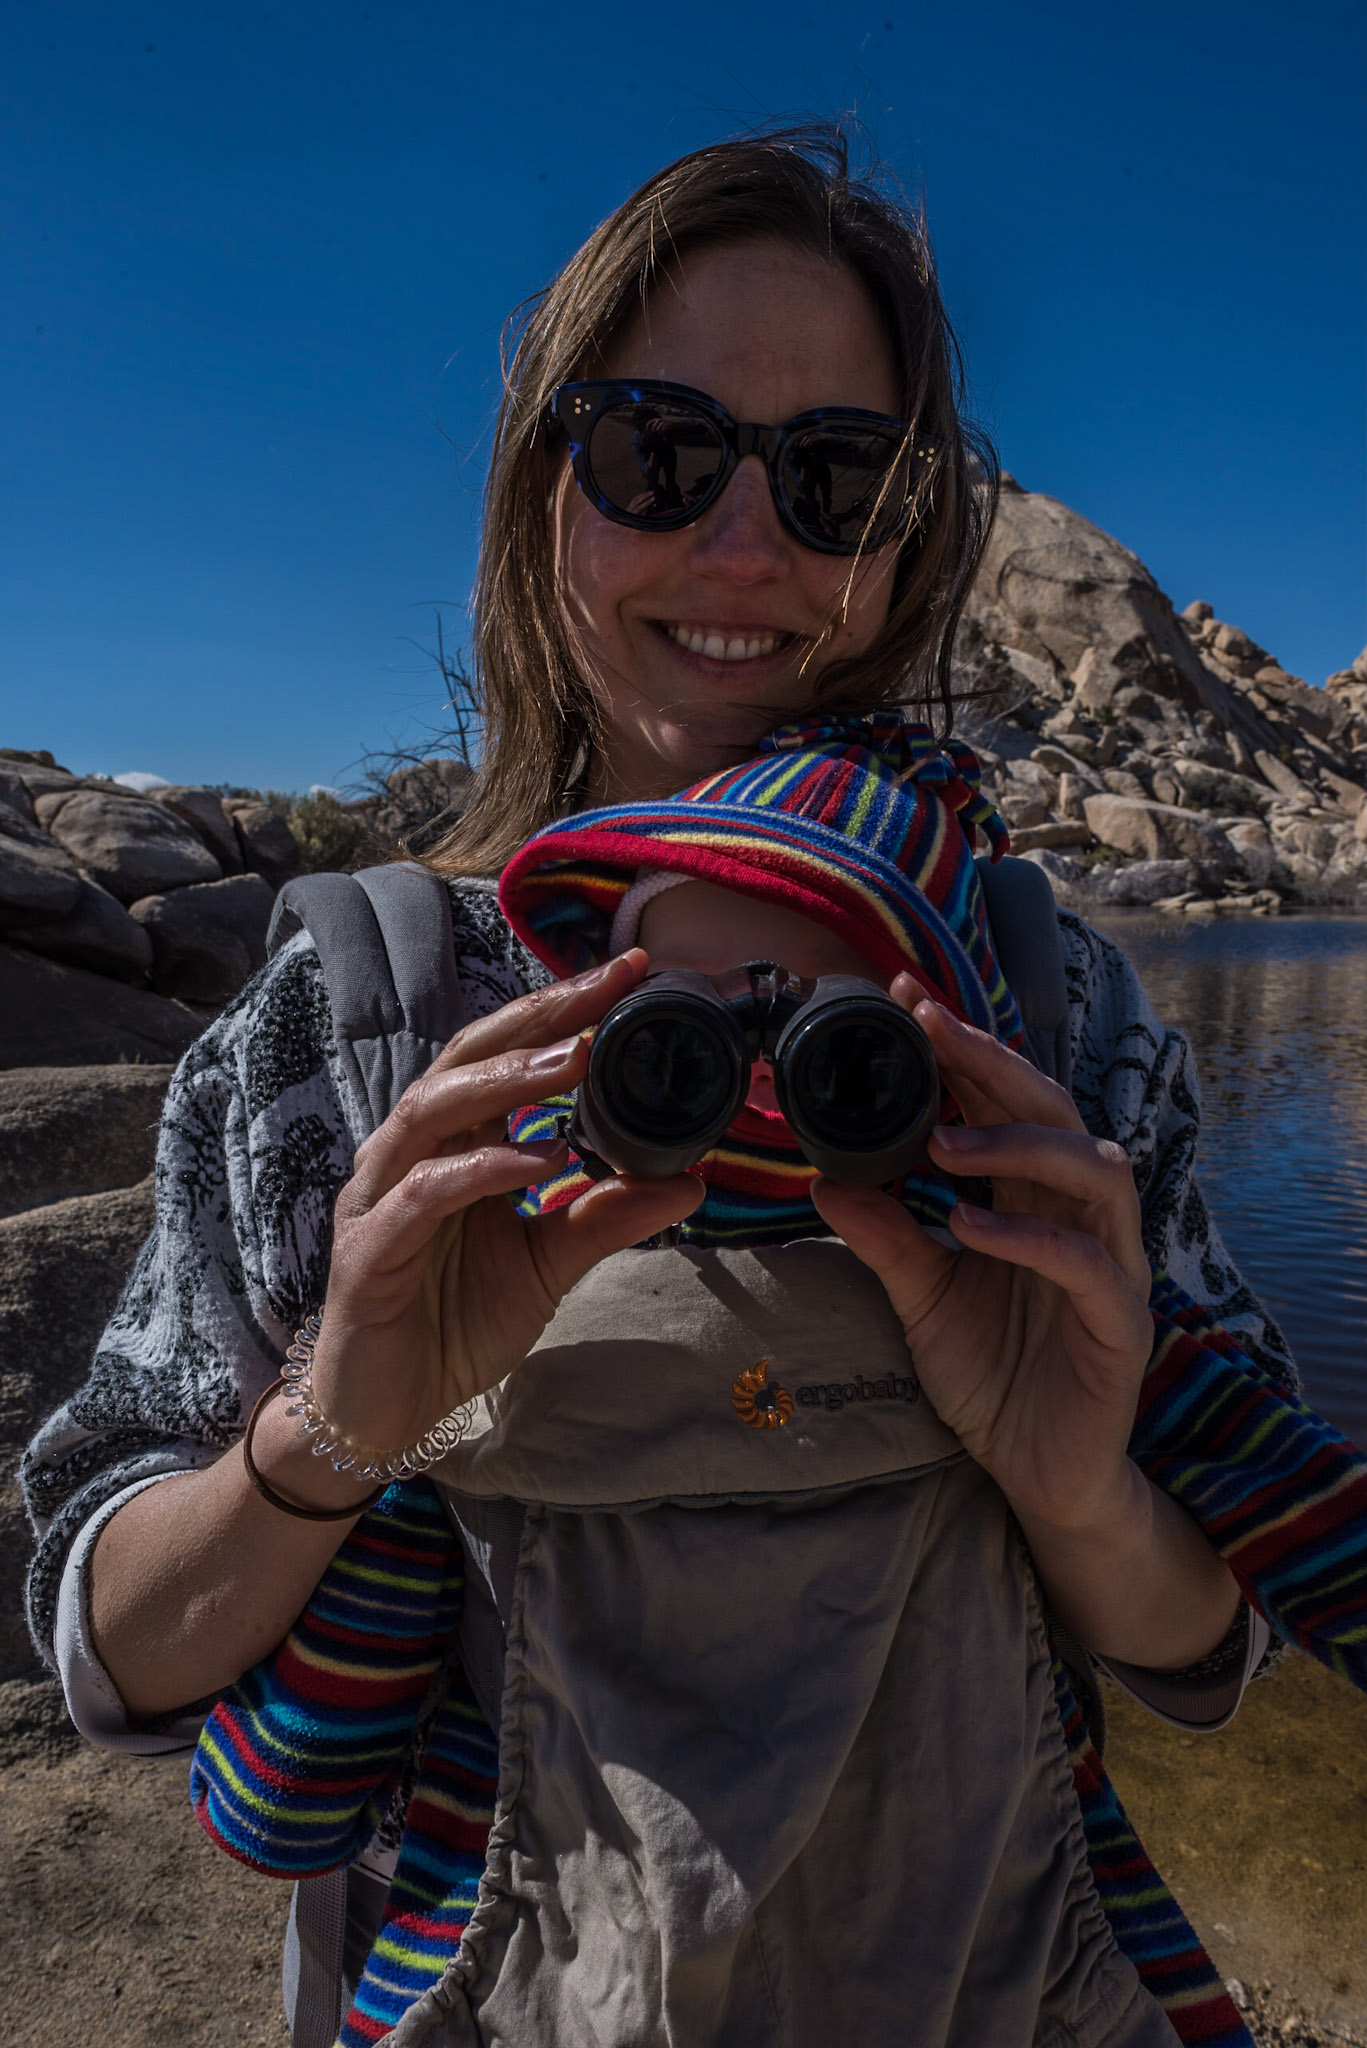
An all-terrain buggy will serve you well if you’re hiking with a baby in relatively flat countryside, but this post is really about the sorts of outdoor excursions that you wouldn’t attempt with a pushchair. For those, you’ll need a sling or baby carrier backpack. Which you choose depends on the age of your child, the type and duration of your walk and who’s doing the carrying. Don’t attempt a hike without some means of transporting your child, even if your toddler is a very confident walker; it’s highly unlikely she’ll be up for toddling along beside you for more than a few minutes and you’ll spend the rest of the walk carrying her in your arms.
We only started hiking with the baby girl when she was 10 months old, by which time she was big enough to fit into a backpack carrier. There are lots of different types available, but ours (which we picked up cheap in a charity shop) does up around the waist so there’s less pressure on the wearer’s shoulders, has lots of space for stowing all your other baby kit (of which more later) and a frame that means it stands up by itself, making loading and unloading the baby girl much easier.
The only trouble is that all of those useful features add weight and bulk – I’m fairly slim and only 164cm (5’ 4”) tall, and the carrier plus an increasingly heavy baby girl is too much for me. So my partner uses the backpack carrier and I use the lightweight sling, ideally with someone else carrying the rest of the baby gear (more on how brilliant slings are in this recent post). If it were just me, lugging the baby girl and all of both our stuff, I wouldn’t attempt a walk longer than an hour or so.
What to pack for hiking with a baby
Hiking through the volcanic landscape east of the natural swimming pool at La Mactea
Whatever set up you opt for, you want to keep additional weight to a minimum, while ensuring you’re prepared for all eventualities. Take the lightest possible changing mat, a couple of nappies and a few wipes in a ziplock bag rather than your usual nappy change wallet. Spare clothes (including a hat) are essential, especially if your child is in a backpack carrier – you’ll warm up quickly as you walk, but your baby will be sitting still, exposed to the elements.
We eschew trousers and socks in favour of pyjamas with feet to stop the baby girl getting cold legs when her trousers inevitably ride up. Waterproof trousers to go over the top are a good idea if you’re walking anywhere with the possibility of rain. It might sound like overkill but for hikes in locations where the weather can quickly take a turn for the worse, it can’t hurt to bring a lightweight storm shelter.
Parents of rolling or crawling babies should consider packing a mat or blanket; breastfeeding mothers will appreciate having somewhere dry to sit too. If you’re bottle-feeding, ready-to-drink formula is much more convenient on the move than making it up from powder. Finally, keep a ready supply of snacks in your pockets that you can produce with a flourish as a solution to sudden onset baby crankiness – you’ll all have a much nicer time.
Route planning for hiking with a baby
Don’t be too ambitious when it comes to route planning for hiking with a baby, even if you’re an experienced walker. A hike that might have taken a couple of hours baby-free can easily become the work of an entire afternoon once you’ve factored in pauses for snacks; bottle or breastfeeding; giving parental shoulders a break; and pointing and laughing at sheep. Remember, too, that there’s no shame in cutting a walk short if things aren’t working out as planned.
Organising travel documents for your baby – from passport and visa to consent letter – is the first step to taking your little one away on her first adventure.
Passport or photo ID
You’ll need a consent letter for travelling solo with your baby, in addition to a passport or photo ID
Children require passports for international travel (if you don’t have one for your baby yet, read my post on how to apply for her first UK passport), but for flights within the UK the adult travelling with them can vouch for their identity. The adult will need to carry photo ID, the more official the better. (Though I was intrigued to learn that the airline Flybe includes NUS cards and valid firearm certificates on its long list of acceptable forms of identification.)
Visa
When it comes to visas to almost any destination you care to name, you can safely assume that the rules are the same for children as they are for adults. This has implications not just for pre-trip admin, but for budgeting too. Fees are typically the same regardless of the age of the applicant (though they do often vary depending on the nationality of the person applying, something to watch out for if your child holds a different passport to you).
Consent letter
None of the above probably comes as much of a surprise – we’re all used to needing passports and visas to travel. What you might not be aware of is that if you’re taking a child abroad, you technically need permission from anyone else with parental responsibility to do so. Ie if you’re a mother or father travelling with your baby by yourself, you need to bring a consent letter specifying that their other parent has given the trip the go ahead.
You should include passport information for both parents, plus your child’s passport information and details about the trip. And to really do it by the book, the consent letter should be witnessed by a notary, and you should bring along proof of your relationship to the child, such as a birth certificate – the real thing, not a photocopy. Have a look online for a template form.
There are very few situations in which you would actually be asked to provide such a consent letter, but some countries are stricter than others so it’s worth checking in advance. Parents who don’t share a last name with their children also report more hassle in this regard (the law is designed to prevent child abduction), as do parents of a different ethnicity to their kids.
Sorting out the consent letter – particularly having it notarised – certainly sounds like a pain, but much less of a pain than being refused entry at the border and being sent home. A halfway measure that some parents use is carrying a copy of your child’s birth certificate, so at least you’ve got one official document on you that connects you to your child if anyone asks.
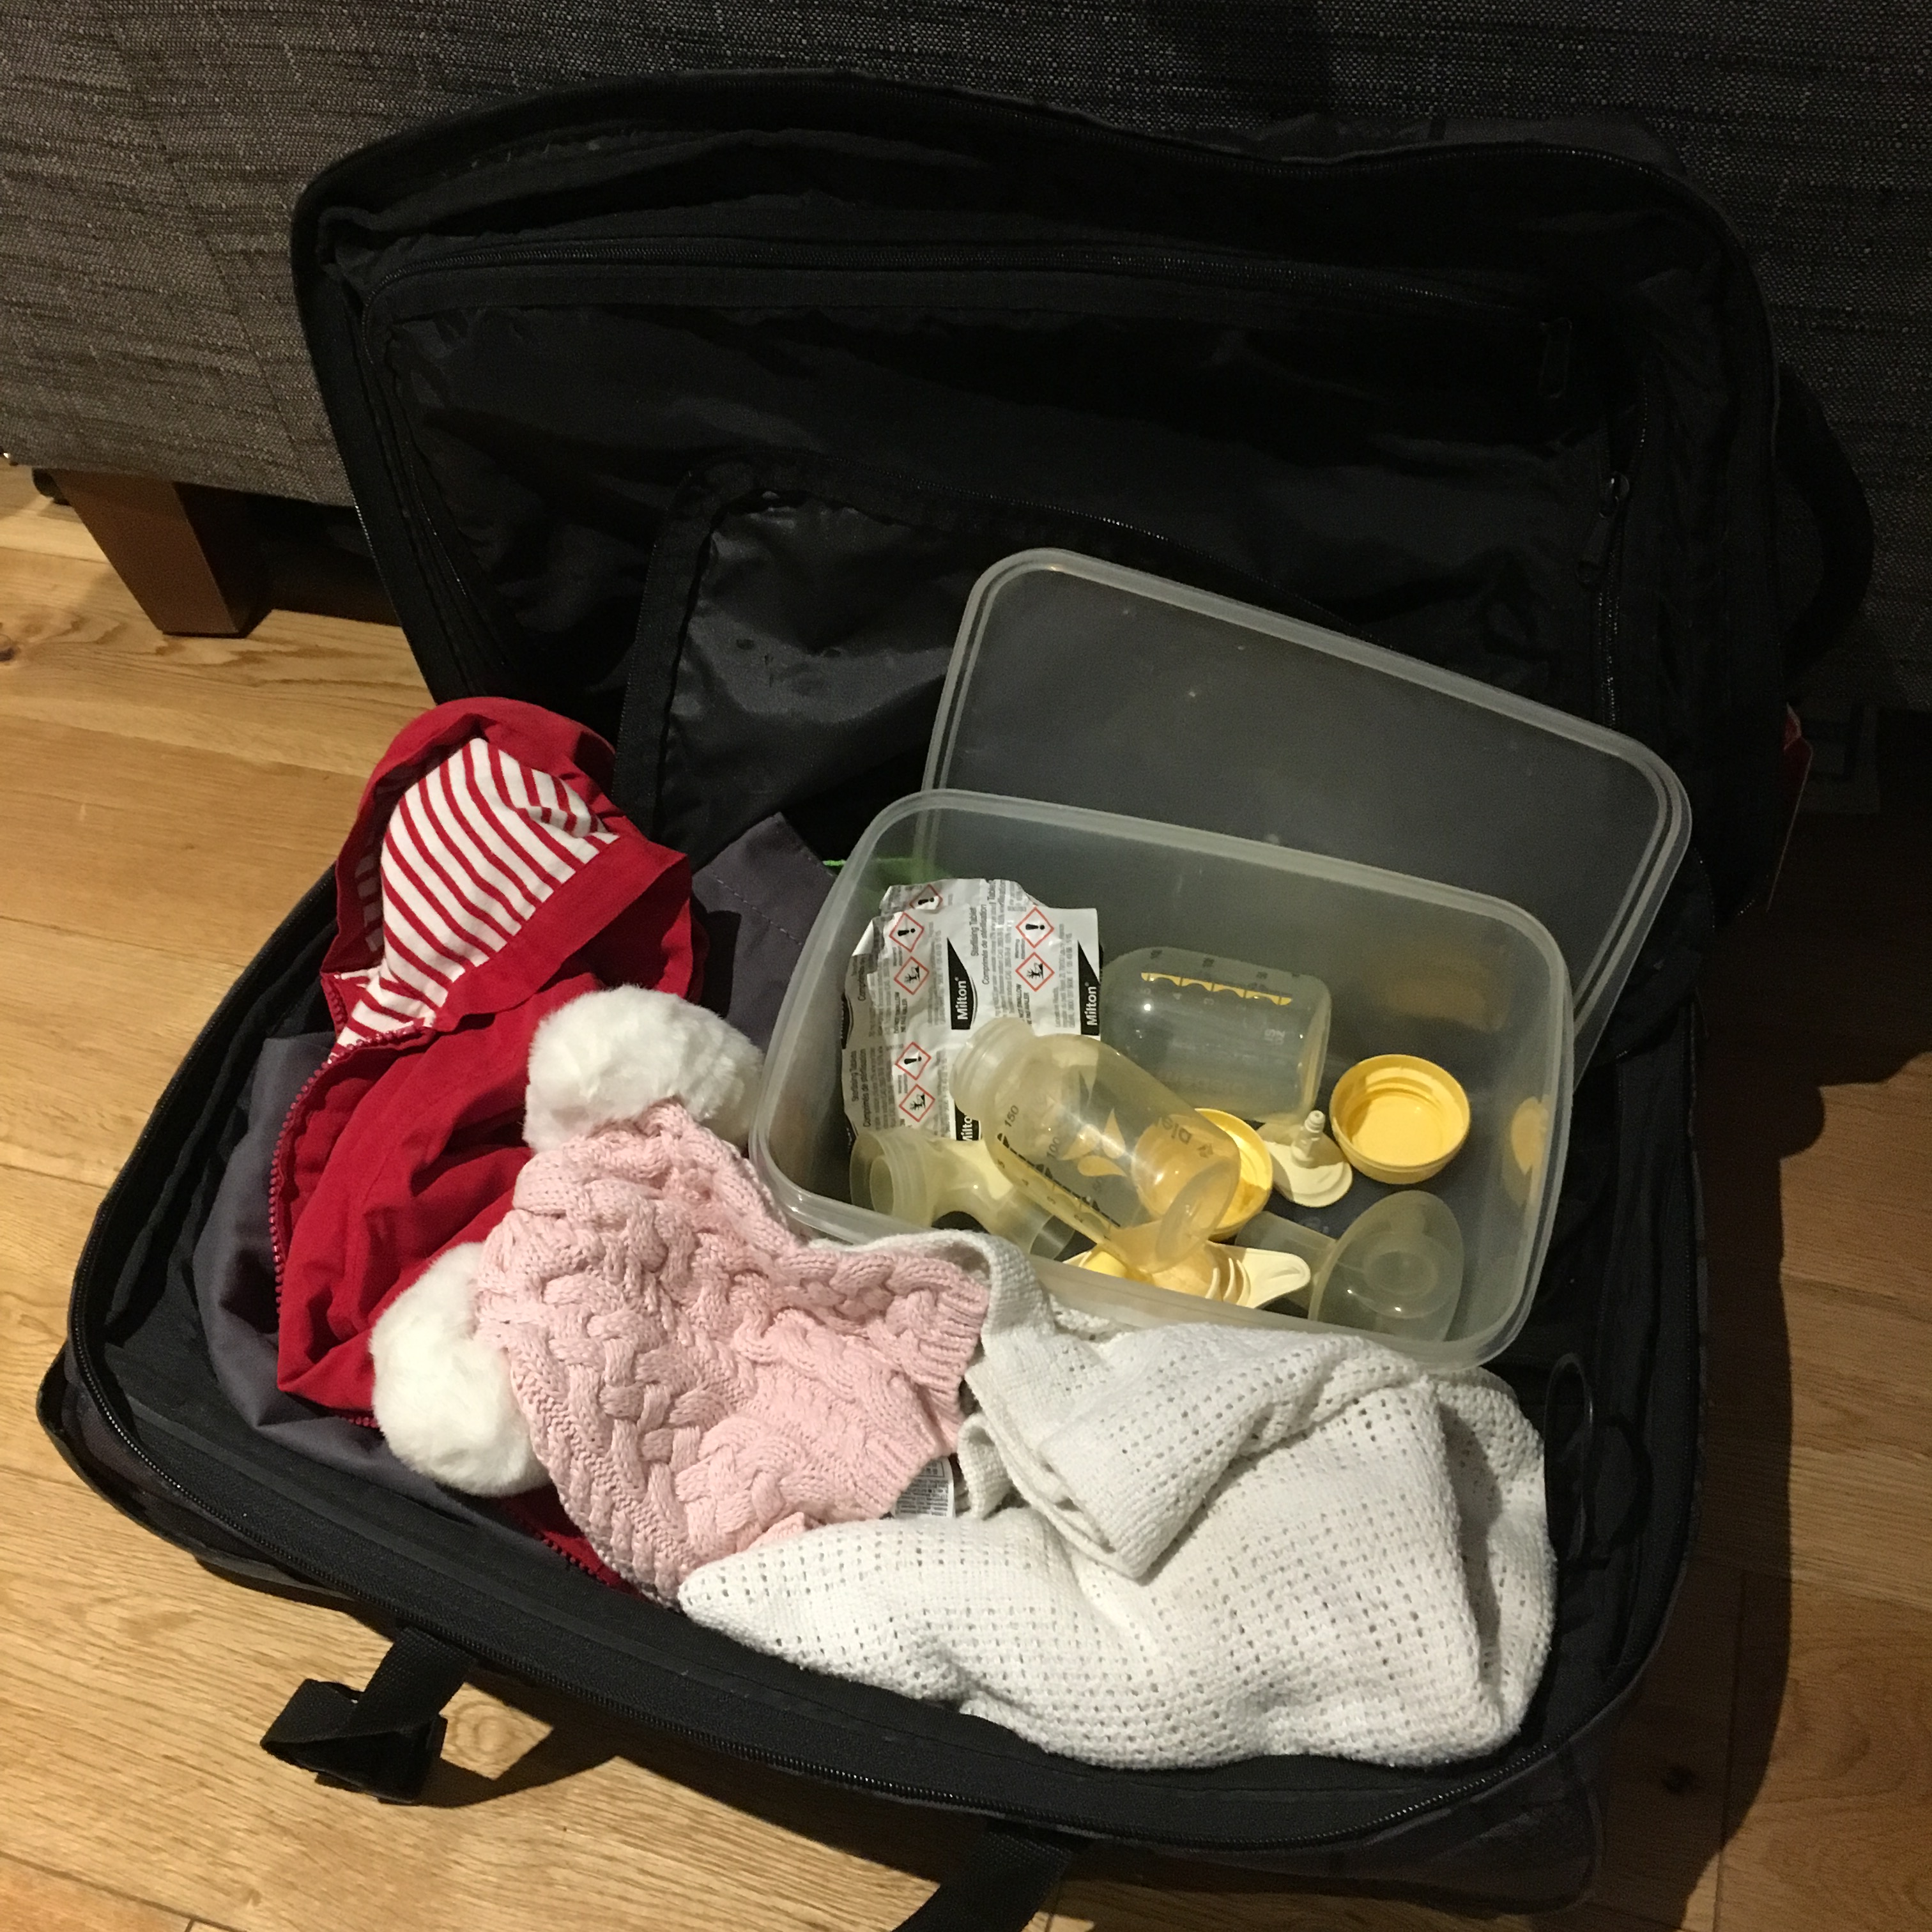
The NHS recommends sterilising any feeding or expressing equipment that comes into contact with milk until your baby is a year old. So if you do any bottle feeding at all and are planning on spending time away from home with your baby before she turns one, you need a portable way of sterilising her things. Even with the most generous baggage allowance in the world you’re not going to want to take your bulky plug-in electric steriliser on holiday.
If you’re staying somewhere with a kitchen, boiling the feeding equipment in a saucepan on the stove is a good solution that doesn’t require any extra kit. Make sure there’s enough water to cover the equipment, check that there are no air bubbles trapped, and boil for five minutes. If you put the bottles together with their teats and lids and keep them in a clean container, they’ll stay sterile for up to 24 hours.
An easier route, which doesn’t require access to a stove, is cold water, or chemical, sterilising. There are two options available – tablets and fluid – and which one is best for you will depend on the circumstances of your trip.
They work in the same way: you make a solution and submerge your clean feeding equipment, again ensuring there are no air bubbles. The equipment is ready to use after the time specified on the label (15-30 minutes usually); there’s no need to rinse it, just shake off the excess solution. The items will stay sterile if left in the solution for up to 24 hours; after that point you have to make a fresh batch.
The tablets are extremely light and take up no space in your luggage but are less convenient to use. Each tablet is designed to be dissolved in a specific quantity of water (which varies brand to brand) so if you don’t have a container large enough you’ll need to do some sums and split the tablets accordingly. The fluid is heavier in your luggage but it’s easier to measure out the exact quantity you need.
Whether you opt for fluid or tablets, pack a Tupperware box big enough for your requirements, measuring how much it holds before you travel (pack a lid too – the solution can bleach fabrics so you don’t want it splashing around). You’ll also need a bottle brush and washing up liquid to clean the feeding equipment before you sterilise it, though I’ve been known to use shower gel for the purpose.
Even if you’re not planning on doing any bottle feeding at all, it’s a sensible precaution to take feeding equipment and a couple of bottles of ready-mixed formula away with you if you’re travelling with an unweaned baby, particularly somewhere remote. In the unlikely event that something happens to get in the way of breastfeeding, you’ll want an alternative way of getting some milk down her.
Travelling long-haul is one of the few situations where being a sleep-deprived parent comes into its own. You may grumble when your baby or toddler repeatedly wakes you up in the middle of the night, but the benefit of such training is that when it comes to jet lag, you might not really notice much difference – you were tired to begin with, and now you’re just a little bit more tired, but in an excellent new location. Unfortunately, jet lag is almost certain to affect your child. Here’s what you can do to help her through it.
Where possible, book an outbound flight that doesn’t require waking your baby up earlier than usual. Leaving for the airport in the middle of the night or at the crack of dawn is a pain as an adult, and doing it with a baby is worse. You want her as well rested as possible before you go. Similarly, encourage napping on the plane – easier said than done, of course, but always worth a go. I’ll go into this further in a separate post, but the sling is your friend in this situation.
Make a call depending on where you’re going about whether to adjust to the new time zone. If the difference is less than four hours, and you’re heading east, keeping your baby on home time can be a good workaround – she eats with you at adult dinner time and stays up until your bedtime, meaning no need for babysitters or spending your evening sitting in a hotel room in the dark beside your sleeping child (some useful hotel room tips here).
You can prepare for a bigger time difference by moving your’s baby bedtime forward or back a bit in the days leading up to the trip. I’ve personally never got organised enough to do this with the baby girl, but a couple of friends swear by it, and I plan to try it next time we travel long-haul.
Once you get to your destination, you might find that your baby sleeps really well the first night because she’s exhausted from the journey, but is wakeful at night and grumpy in the day after that. Don’t worry, it will pass; it’ll just take a few days – four probably. (And don’t worry about getting back into a sleep routine after the trip – that too will take a little while, but it’ll happen eventually.) But bear these timings in mind when booking your trip – if you’ve got less than 10 days to play with, a smaller time difference might be a better idea.
Being easy on yourself during those first few days is crucial, including not attempting any ambitious adventures until you and your baby are adjusted to the new time zone. Nap when your baby does so you’ve got some energy to cope with additional nighttime wake ups, and spend some time outdoors – day light helps kick the body clock into line.
Try to keep your baby’s bedtime routine as close to what it is at home so she knows on some level that it’s time to sleep even if her body is telling her the opposite. She might be hungry when she wakes at night – whether or not you feed her will depend on how you manage night feeds generally. My thinking with these things is just to go with it and trust that your baby will work it out eventually.
If you’re a breastfeeding mother, bear in mind that your milk production might go a bit haywire as it adjusts to your baby demanding feeds at different times (your boobs are jet lagged, basically). Pack a few extra sets of nursing pads to deal with possible leaks, and remember to drink plenty of water. (I’ll be going into greater depth on breastfeeding while travelling in a later post, so sign up to the mailing list to make sure you don’t miss it).
When it comes to jet lag so much depends on where, when and how you travel, as well as on the foibles of your particular child, so please share your baby and toddler jet lag hacks by commenting below. Forewarned is forearmed. You want to avoid arriving tired, if possible, so napping en route is a good idea – by whatever means necessary.