What you need to know to get through an airport with a baby or toddler

Air travel is a wonderful thing, but airports are a pain. I like the teeny tiny ones where you can arrive 20 minutes before your flight, but all the others make me wish I was taking a train instead. Add a baby or toddler to the mix and you’ve got the potential for a pretty wearying – not to say stressful – experience.

The key is to leave plenty of time so you’re never in rush. That might mean quite a bit of waiting around – which, let’s be honest, isn’t ideal with a baby or toddler either – but at least you stand a good chance of boarding your flight calm, contented and ready for whatever the next few hours hold (I’ll be covering flying itself, as well as airport transfers, in separate posts – sign up to my mailing list so you don’t miss them).

The one benefit of travelling with a baby or toddler is that airline check-in staff are almost always nicer to you than if you’re checking in alone. I get the sense that they’re more willing to turn a blind eye to a couple of kilos of extra weight here or there, on the understanding that babies require a lot of stuff. (Though now I think of it, the baby girl has always been remarkably cheery at check-in desks – who knows what treatment we might get if she was being a grump.)

Infant baggage allowance varies from airline to airline, but most let you check in two or three items of baby equipment free of charge, usually including a pushchair, car seat, travel cot and backpack carrier. You’ll want to check your airline’s policy before booking so you don’t get any nasty surprises before departure. Check in your pushchair and car seat at the desk or, if you’d prefer to have them with you as you go through departures, get them tagged at check in and leave them with airline staff when you reach the gate. At some airports you’ll be able to send your baby equipment through with the rest of the luggage, but at others you might be asked to drop it off in a different area.

Whatever you decide to do with your pushchair, it’s a good idea to keep a sling handy. The first time I flew with the baby girl, when she was six-weeks-old, I kept the pushchair with me until the gate and didn’t end up using it at all. Airports are very stimulating environments and the baby girl was unhappy unless she was being carried. Also, travelling alone with her, getting the pushchair down the stairs from the gate to the tarmac was a real pain – fellow passengers helped out, but it wasn’t ideal. I’ve since learnt that you can request special assistance in advance for those situations, but these days I just check everything in and avoid the problem that way.

At security they might ask to x-ray your pushchair, car seat or sling, so be prepared to carry your child through in your arms, and make sure that if you there’s anything else in the pushchair it’s easy to lift out and put through the machine too. The last few times I’ve flown with the baby girl I’ve been able to walk through the scanner with her in the sling – if only I could remember to wear the sling under my jacket so it’s easy to remove.

Formula, sterilised water for preparing formula, cow milk and soya milk for babies are exempt from the usual rules about liquids in hand luggage, so you’re allowed to take them through security, as well as gel packs to keep them cool. They need to be removed from your carry-on so they can be screened separately (incidentally, you don’t need to be travelling with your baby to carry expressed breast milk through). The rules vary slightly from country to country, but security staff have always been understanding in this regard in my experience.

My final tip relates to food. You’ll obviously need to take enough baby food or milk to cover the number of meals or feeds you’ll be in transit for, but don’t underestimate the power of snacks either. Take as many as you can fit into your carry-on, so in the event of boring delays or just general grumpiness, you’ve got distractions at the ready.
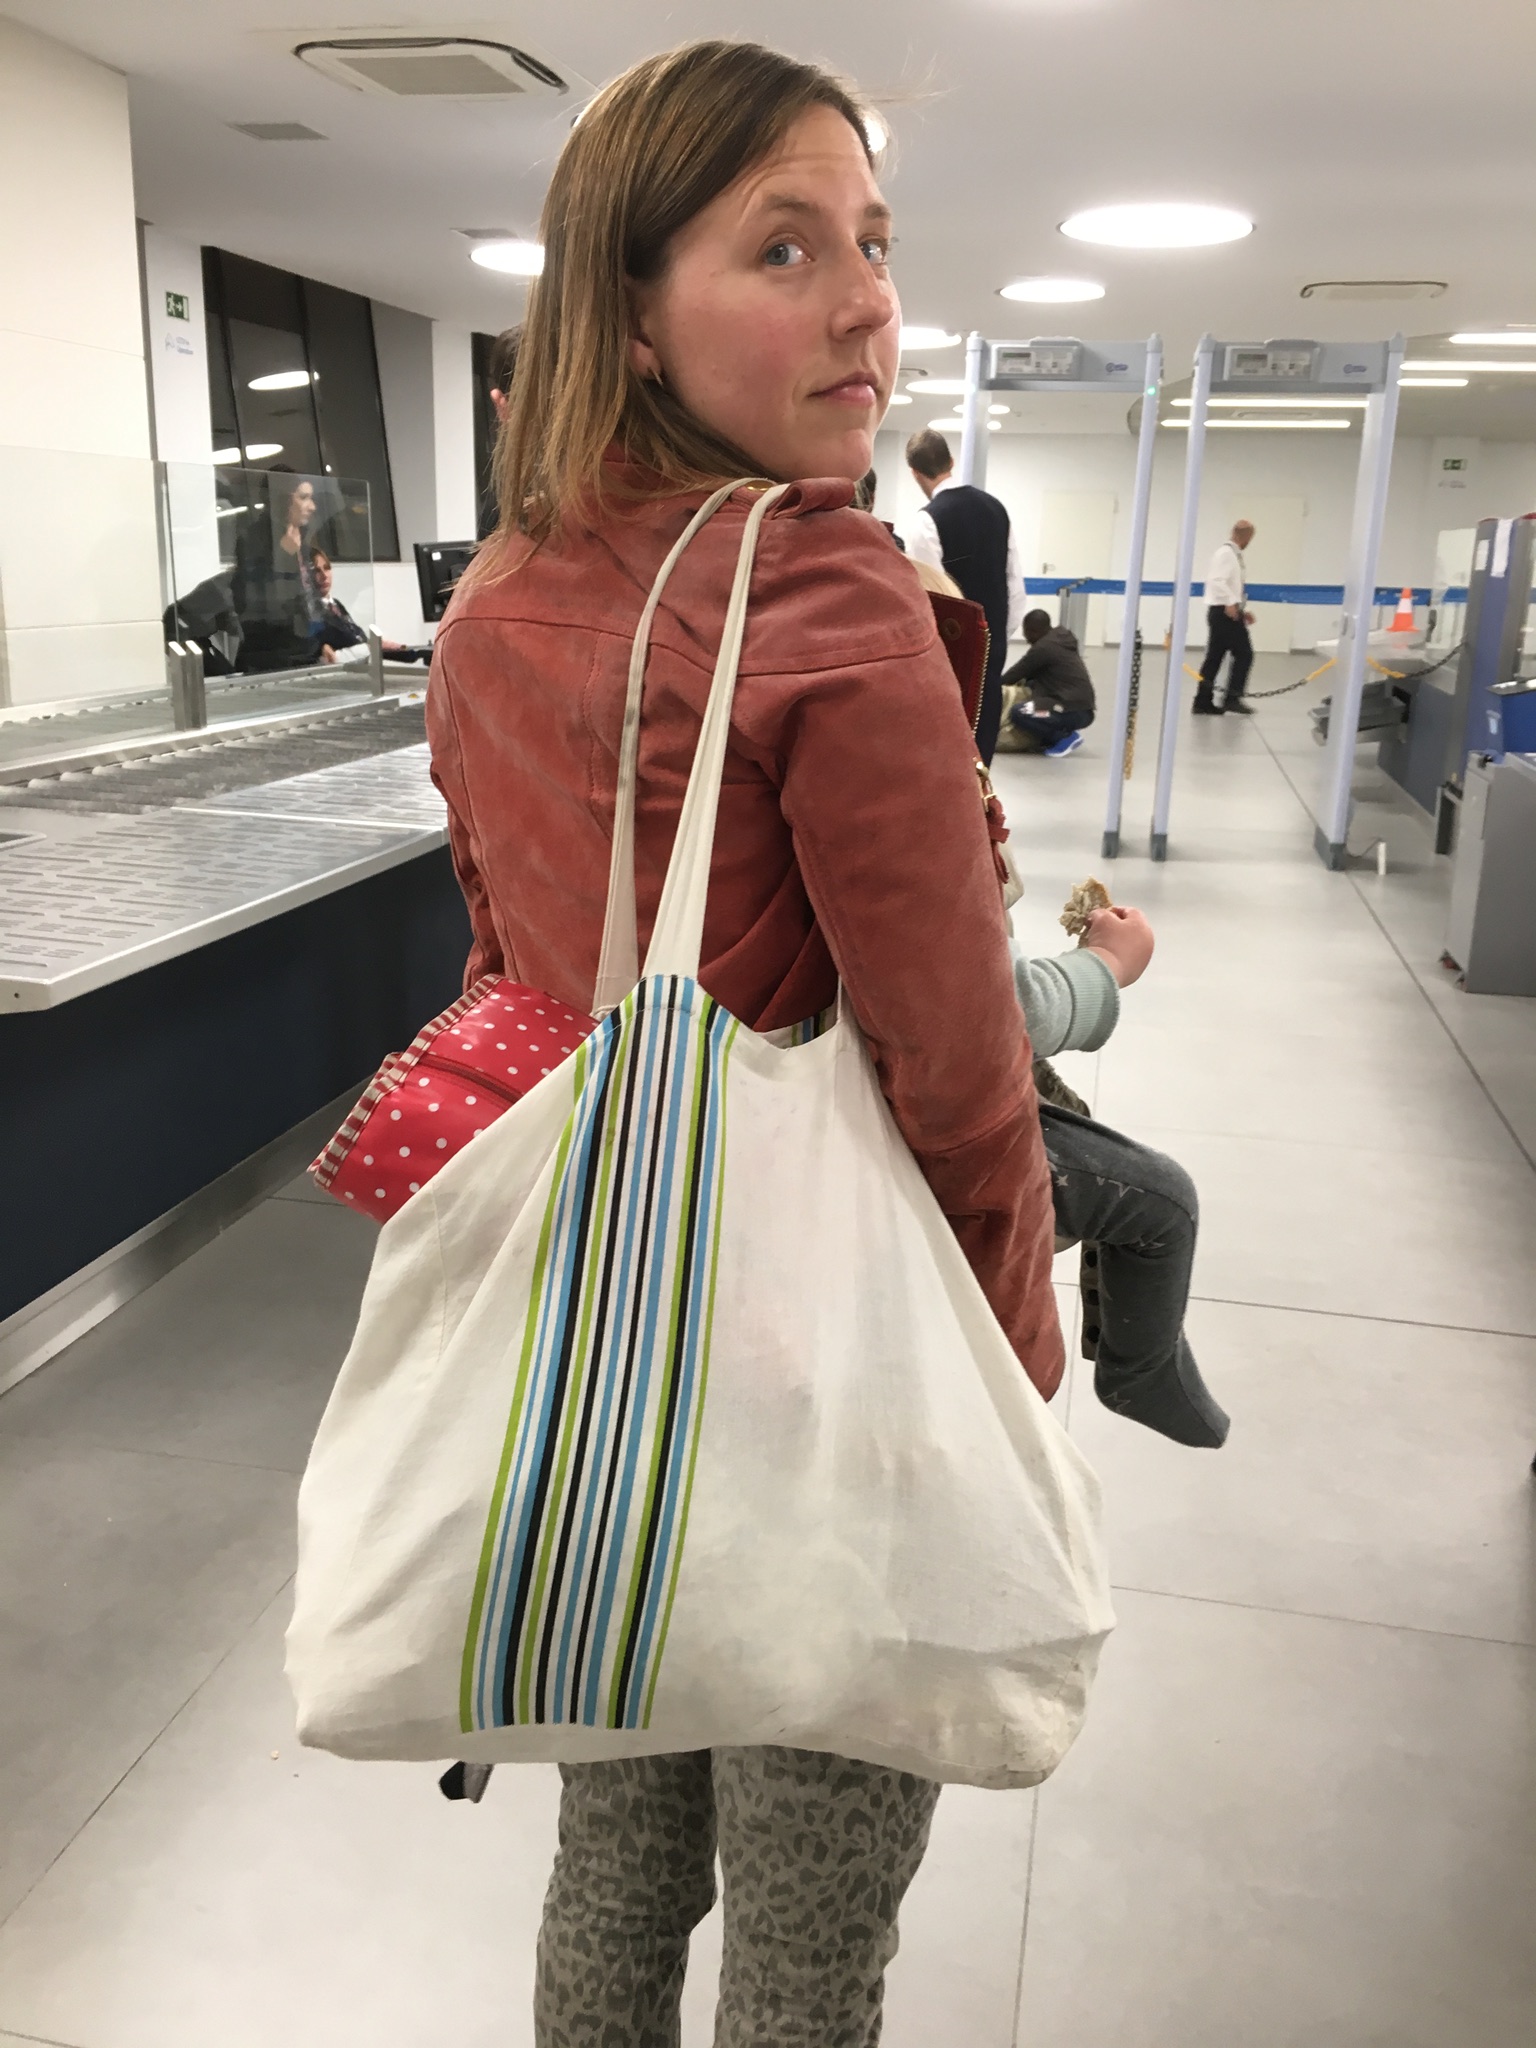
A woman in a red jacket carries a shoulder bag and a baby in a sling at airport security.
A remarkably easy passage through security at Malta International Airport on the way back from our dive trip to Gozo, November 2017.


Eating out with babies and toddlers

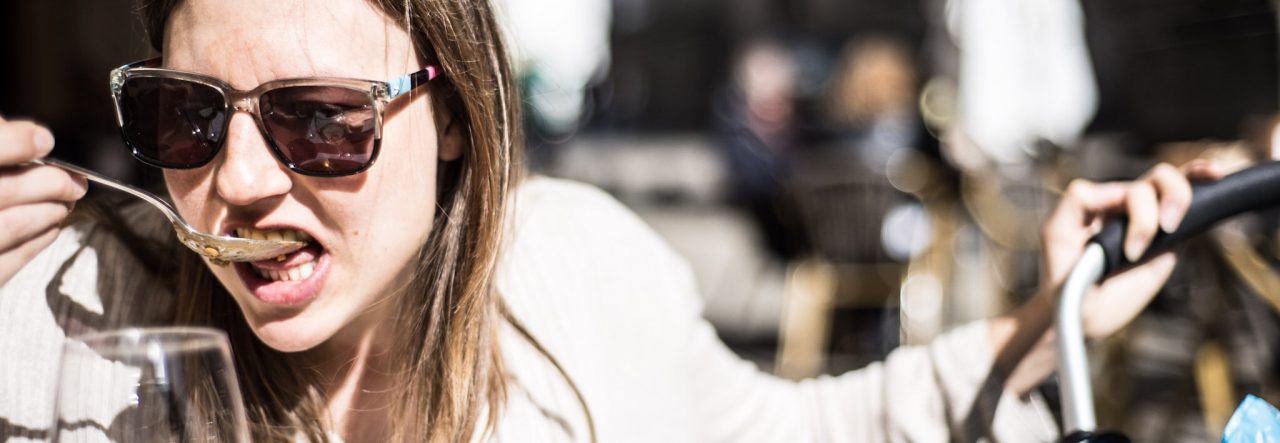
Eating out with a baby or toddler can be a stressful experience, so your choice of eatery is paramount. You’d be surprised by how many cafes and restaurants are welcoming to children, but there’s nothing worse than dealing with a grumpy/messy/loud baby or toddler while restaurant staff and other patrons give you evils. If you get a bad feeling about a place when you arrive with your offspring in tow, trust your gut and go somewhere else (if there are no other options available, apologise in advance, cross your fingers and grit your teeth). If in doubt – and it pains me to say this, because I’m a big cheerleader for independent businesses – opt for a chain, in the UK at least, as they tend to be child-friendly and well equipped.
A high chair isn’t essential, but having one will make your life considerably easier. If there’s not one available, pick a table with enough space to park your pushchair right up against it and leave your baby strapped in while you feed her. (Having the pushchair close by is helpful, even if you do have a high chair, as it means you’ve got everything to hand when you need it; it also avoids having to wake your little one up if she’s napping when you arrive.)
For trips away where you’re going to be eating out a lot – or if you know in advance that the venue has no high chair available – bring a portable high chair. Ones that clip onto the table are great because your baby will be at the right height, but they’re a pain to clean; plastic ones that strap onto the chair are easy to wipe down, but bulky to carry; and fabric ones that slip over the back of the chair are super light, but mean your baby will be at eye level with the table. Another option is a lap belt, which keeps her securely on your lap but allows you the use of your hands.
Check out the baby change situation before you commit – changing your little one on the floor of a toilet cubicle isn’t a pleasant experience, especially once she’s at the stage of trying to escape while you’re at it. If you’re travelling in the UK, the NCT has a handy app that shows you nearby restaurants (and other places) with baby change facilities.
I’ve never had an issue getting restaurant or café staff to provide hot water to heat up milk or baby food, but it’s best to ask about this as you’re being seated, just in case. Bringing food in from outside can feel a bit awkward, but I’ve never had any pushback on this either. The older the baby girl gets the odder it feels, so these days I try to order something for myself I know she’ll eat rather than lay out a baby food picnic. It’s worth bearing in mind though that restaurant food tends to be saltier than ideal for babies, particularly those under 12 months – fine now and again but not something you want to be doing every day.
It’s all rather simpler for smaller babies, so make the most of this stage, before your infant becomes an unruly toddler. Taking your baby in a sling (you can find my post on this piece of essential kit here) rather than a pushchair increases your options as you don’t need to worry about there being space to park it – and time it right and you might even get her to sleep through an entire meal.
The choice of table is important: if one of your party is breastfeeding, a chair with a back makes for a much more comfortable experience; and sitting with your back to the room allows for greater privacy while breastfeeding. (I’m very pro breastfeeding in public and in no way advocate women hiding themselves away while feeding their babies, but sometimes you’re just not in the mood to show your boobs to an entire restaurant.)
Wherever you’re sitting, consider your escape route for that moment when your baby kicks off and needs jiggling and pacing to calm down – assuming it’s not freezing cold or pouring with rain, outside, away from the gaze and eardrums of other diners, is often less stressful than in. In warm weather I’d always go for an outside table when given the option, for this very reason – in fact I’d go for an outside table with a bigger baby or toddler too, as there’s less of an issue of them making a mess outdoors.
Whatever the age of your child, it helps to manage your own expectations before you set off – meals out with babies and toddlers can be fun, chaotic (in a good way) and sociable, but they’re never relaxing. Be prepared for the worst and you might just have a good time.

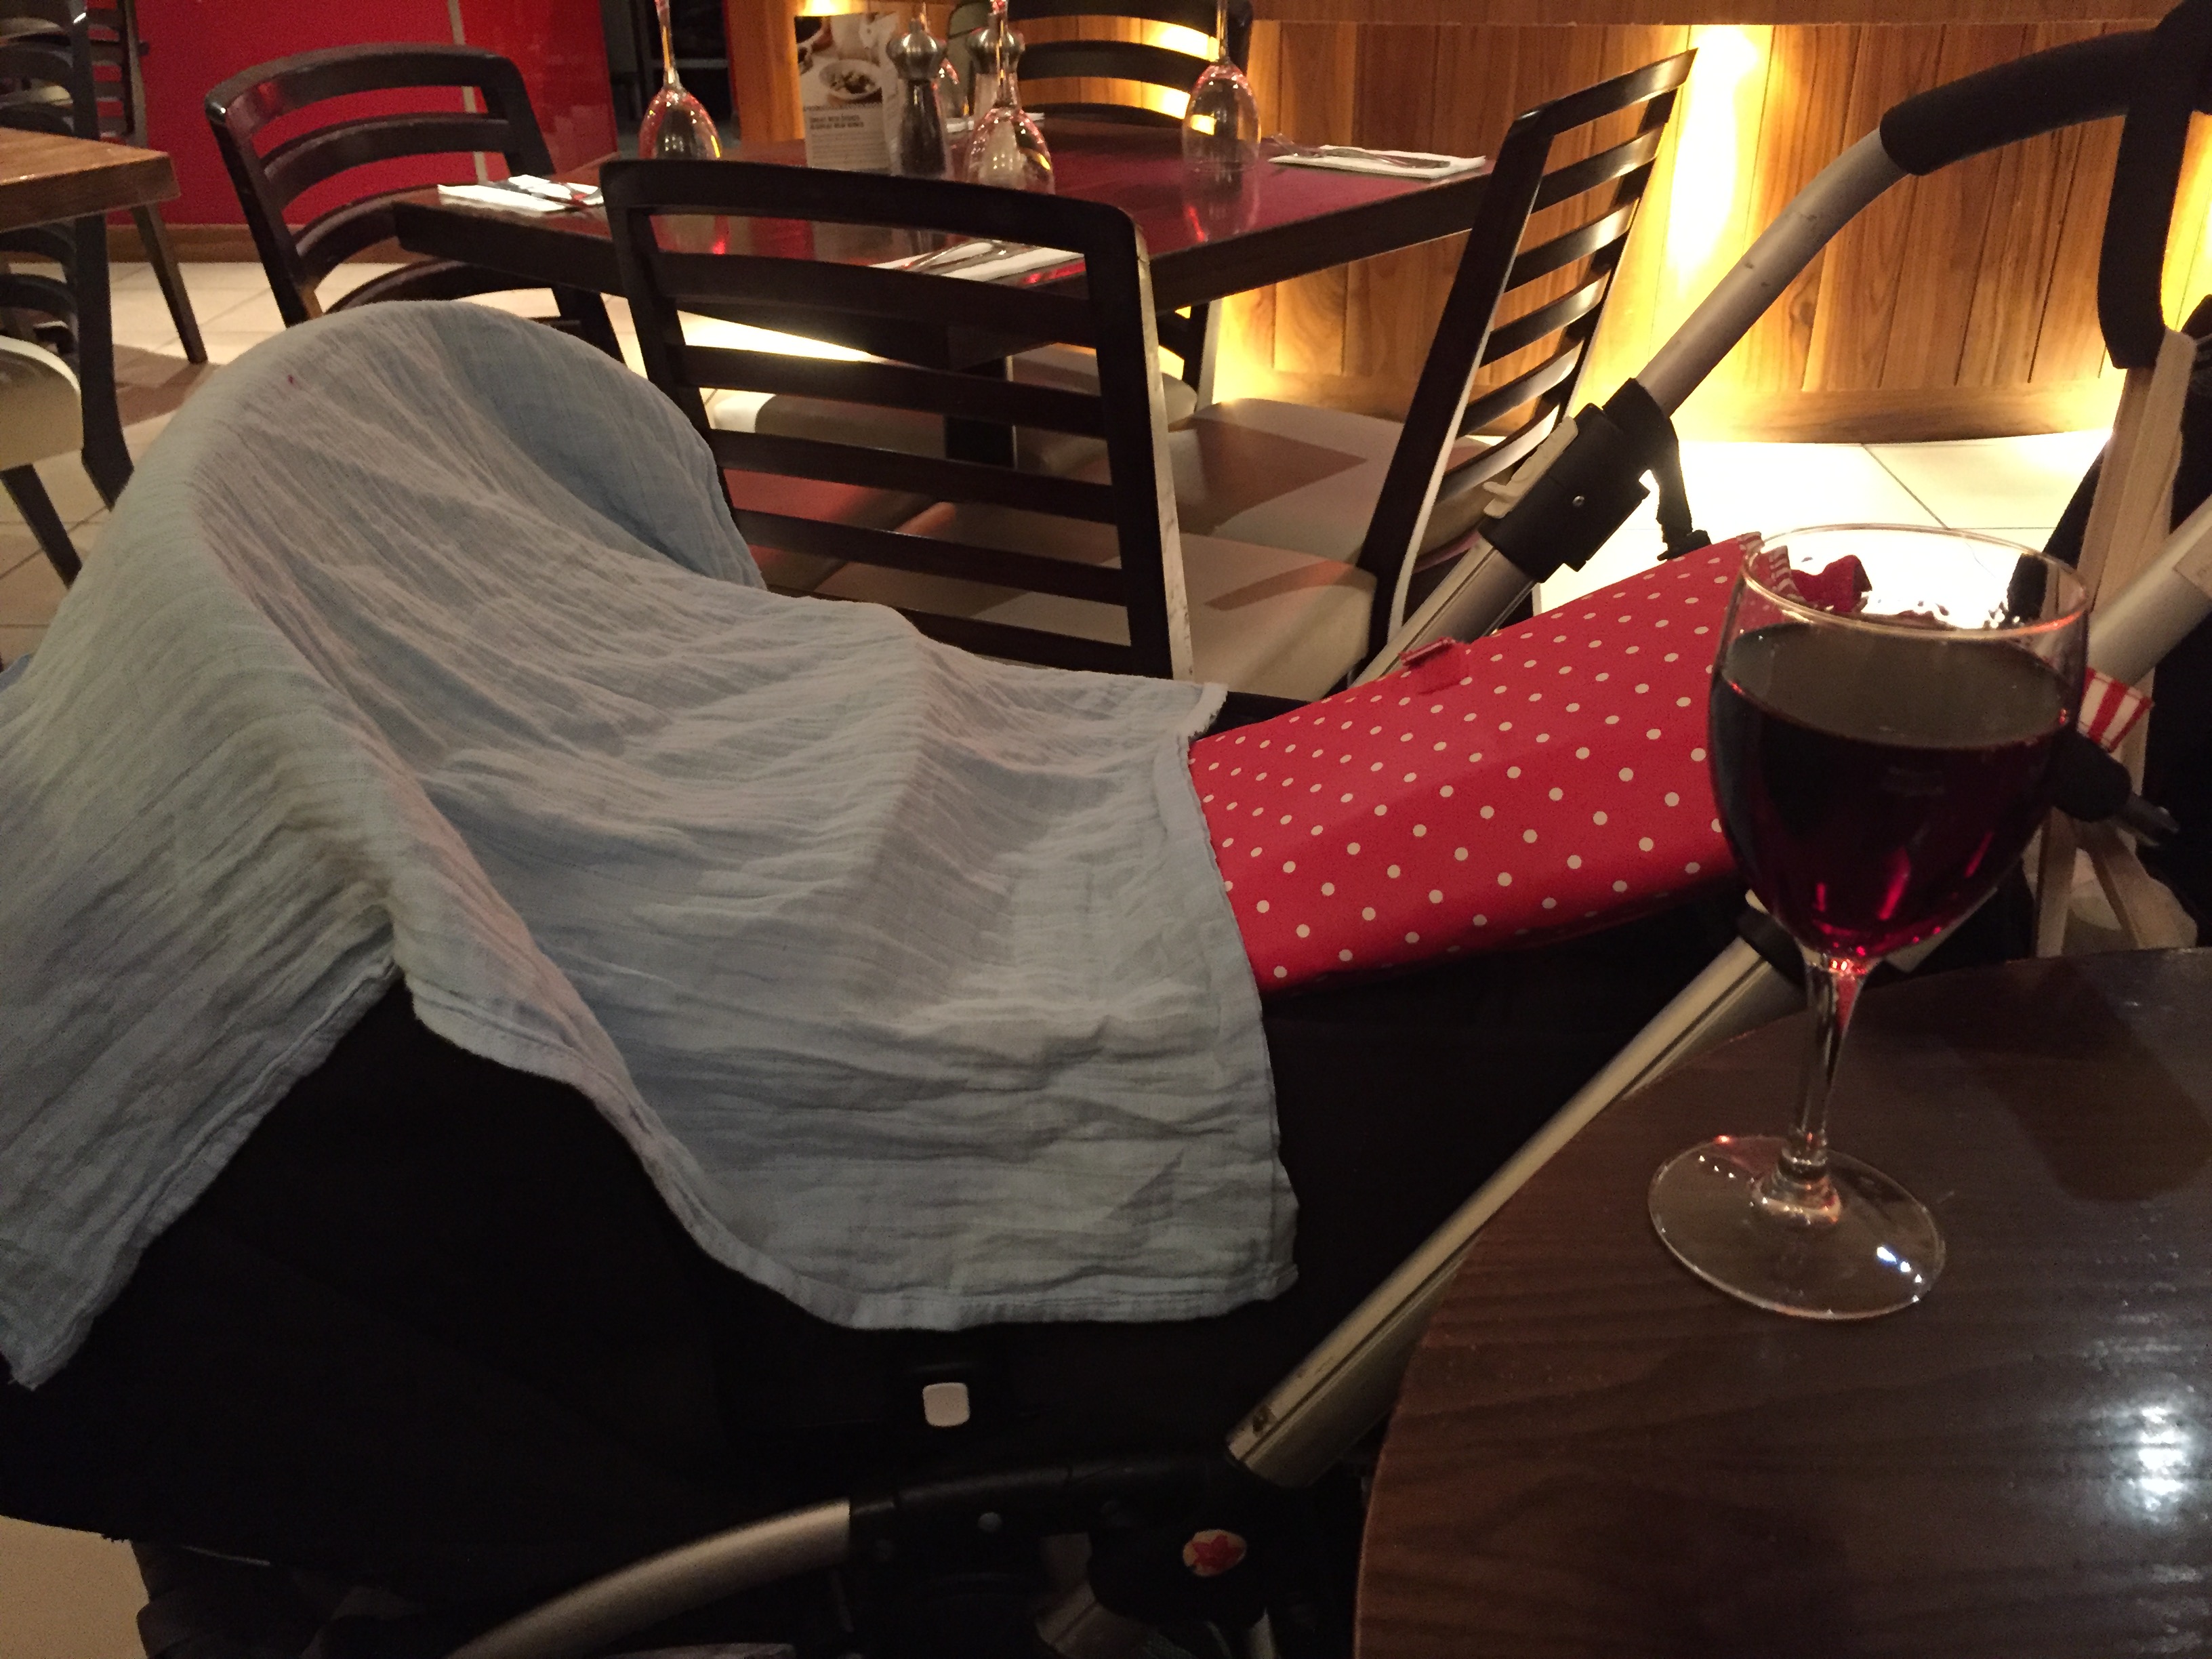
A pram with a cloth covering a sleeping baby is parked next to a restaurant table with a glass of red wine on it
Eating out with a baby or toddler is usually easier if you can park the pushchair right up against the table.

How to sterilise your baby’s feeding equipment when you’re away from home

The NHS recommends sterilising any feeding or expressing equipment that comes into contact with milk until your baby is a year old. So if you do any bottle feeding at all and are planning on spending time away from home with your baby before she turns one, you need a portable way of sterilising her things. Even with the most generous baggage allowance in the world you’re not going to want to take your bulky plug-in electric steriliser on holiday.

If you’re staying somewhere with a kitchen, boiling the feeding equipment in a saucepan on the stove is a good solution that doesn’t require any extra kit. Make sure there’s enough water to cover the equipment, check that there are no air bubbles trapped, and boil for five minutes. If you put the bottles together with their teats and lids and keep them in a clean container, they’ll stay sterile for up to 24 hours.

An easier route, which doesn’t require access to a stove, is cold water, or chemical, sterilising. There are two options available – tablets and fluid – and which one is best for you will depend on the circumstances of your trip.

They work in the same way: you make a solution and submerge your clean feeding equipment, again ensuring there are no air bubbles. The equipment is ready to use after the time specified on the label (15-30 minutes usually); there’s no need to rinse it, just shake off the excess solution. The items will stay sterile if left in the solution for up to 24 hours; after that point you have to make a fresh batch.

The tablets are extremely light and take up no space in your luggage but are less convenient to use. Each tablet is designed to be dissolved in a specific quantity of water (which varies brand to brand) so if you don’t have a container large enough you’ll need to do some sums and split the tablets accordingly. The fluid is heavier in your luggage but it’s easier to measure out the exact quantity you need.

Whether you opt for fluid or tablets, pack a Tupperware box big enough for your requirements, measuring how much it holds before you travel (pack a lid too – the solution can bleach fabrics so you don’t want it splashing around). You’ll also need a bottle brush and washing up liquid to clean the feeding equipment before you sterilise it, though I’ve been known to use shower gel for the purpose.

Even if you’re not planning on doing any bottle feeding at all, it’s a sensible precaution to take feeding equipment and a couple of bottles of ready-mixed formula away with you if you’re travelling with an unweaned baby, particularly somewhere remote. In the unlikely event that something happens to get in the way of breastfeeding, you’ll want an alternative way of getting some milk down her.

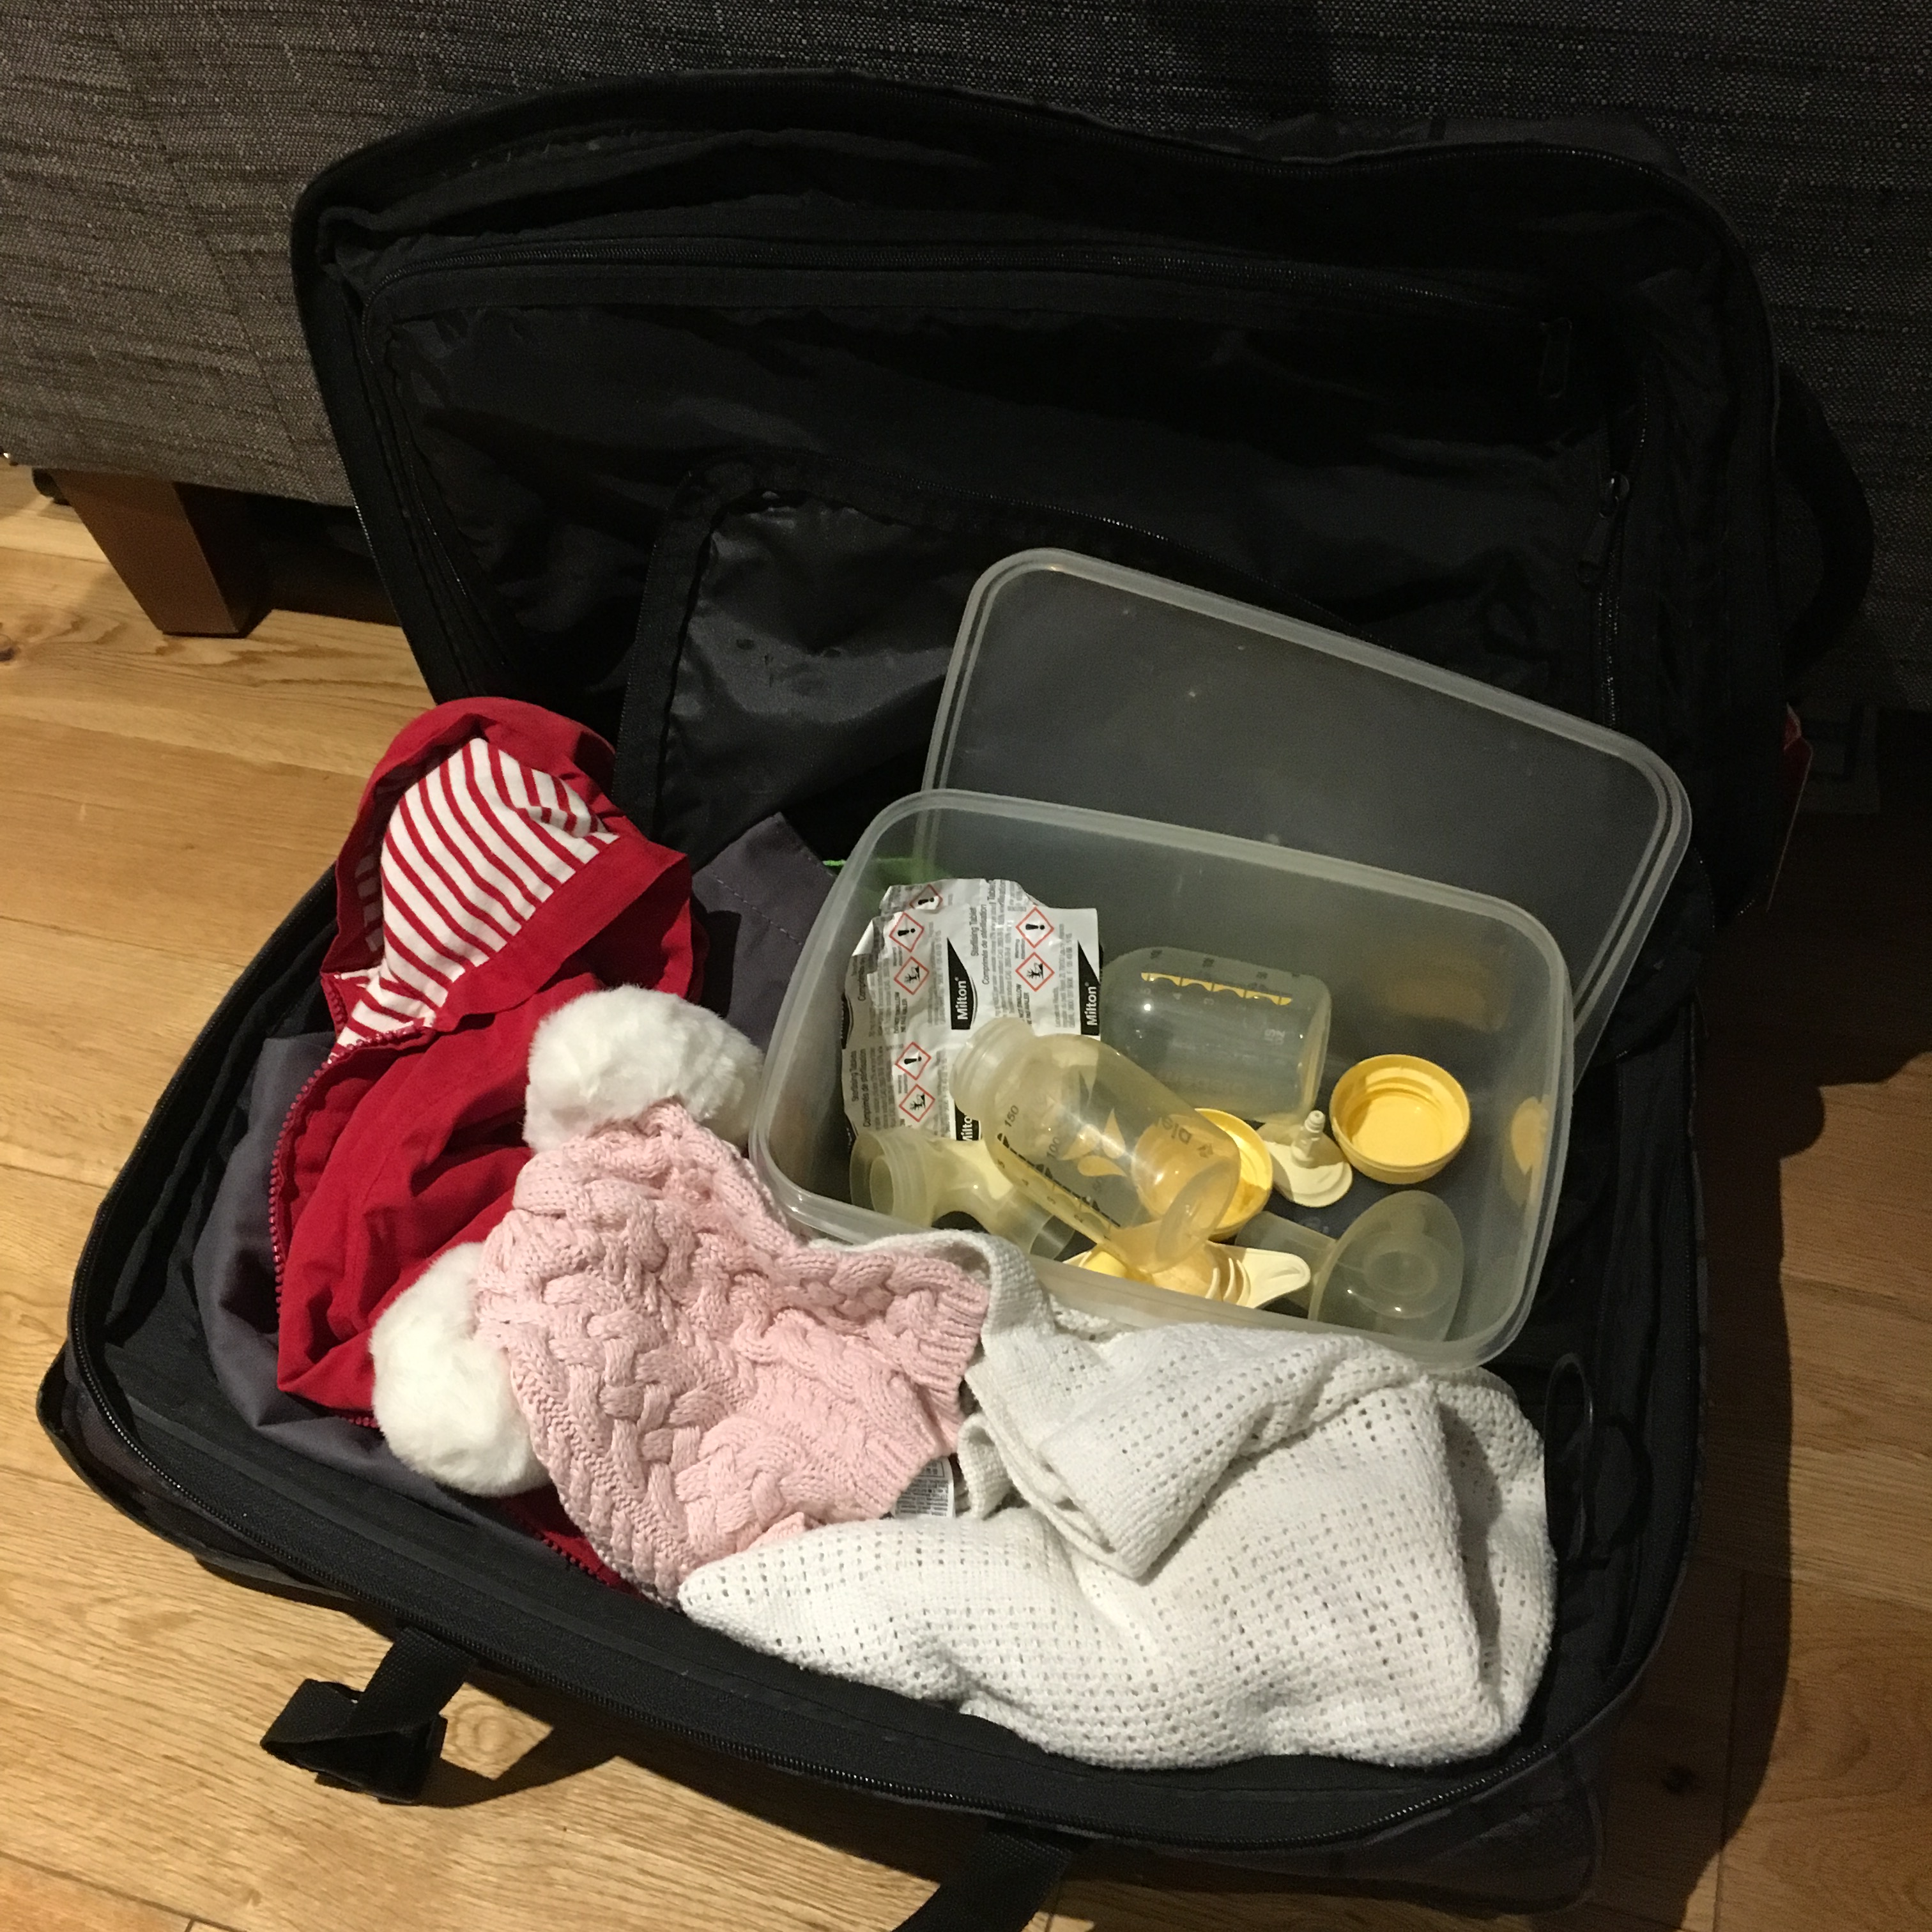
Essential kit for cold sterilising – feeding equipment, sterilising tablets, Tupperware box – in a partially packed suitcase filled with baby clothes
Essential kit for cold sterilising: feeding equipment, sterilising tablets, Tupperware box


Train journeys with babies and toddlers

It pays to be very organised when it comes to taking a baby or toddler on a train, particularly if it’s going to be a long journey. Not all train companies will let you reserve a seat, and even the train companies that do don’t necessarily offer reservations on all their routes, but if you can book a seat, you should.
And the seat you should book, if it’s possible to specify (you can when booking direct through the Virgin trains website, for example, right at the very end of the booking process, or in person or on the phone with Great Western Railway), is one of ones closest to the wheelchair accessible seats. That way, if there’s no wheelchair user on your train, you can park the pushchair – unfolded – in the wheelchair space (it goes without saying that if a wheelchair user gets on, you have to give up the area for them). This avoids the faff of folding and stowing the pushchair in the luggage rack, but it also means you’ve got a place to put your baby down for a nap during the journey if need be. The wheelchair seats are also the closest to the disabled toilet, which is where you’ll usually find the baby change.

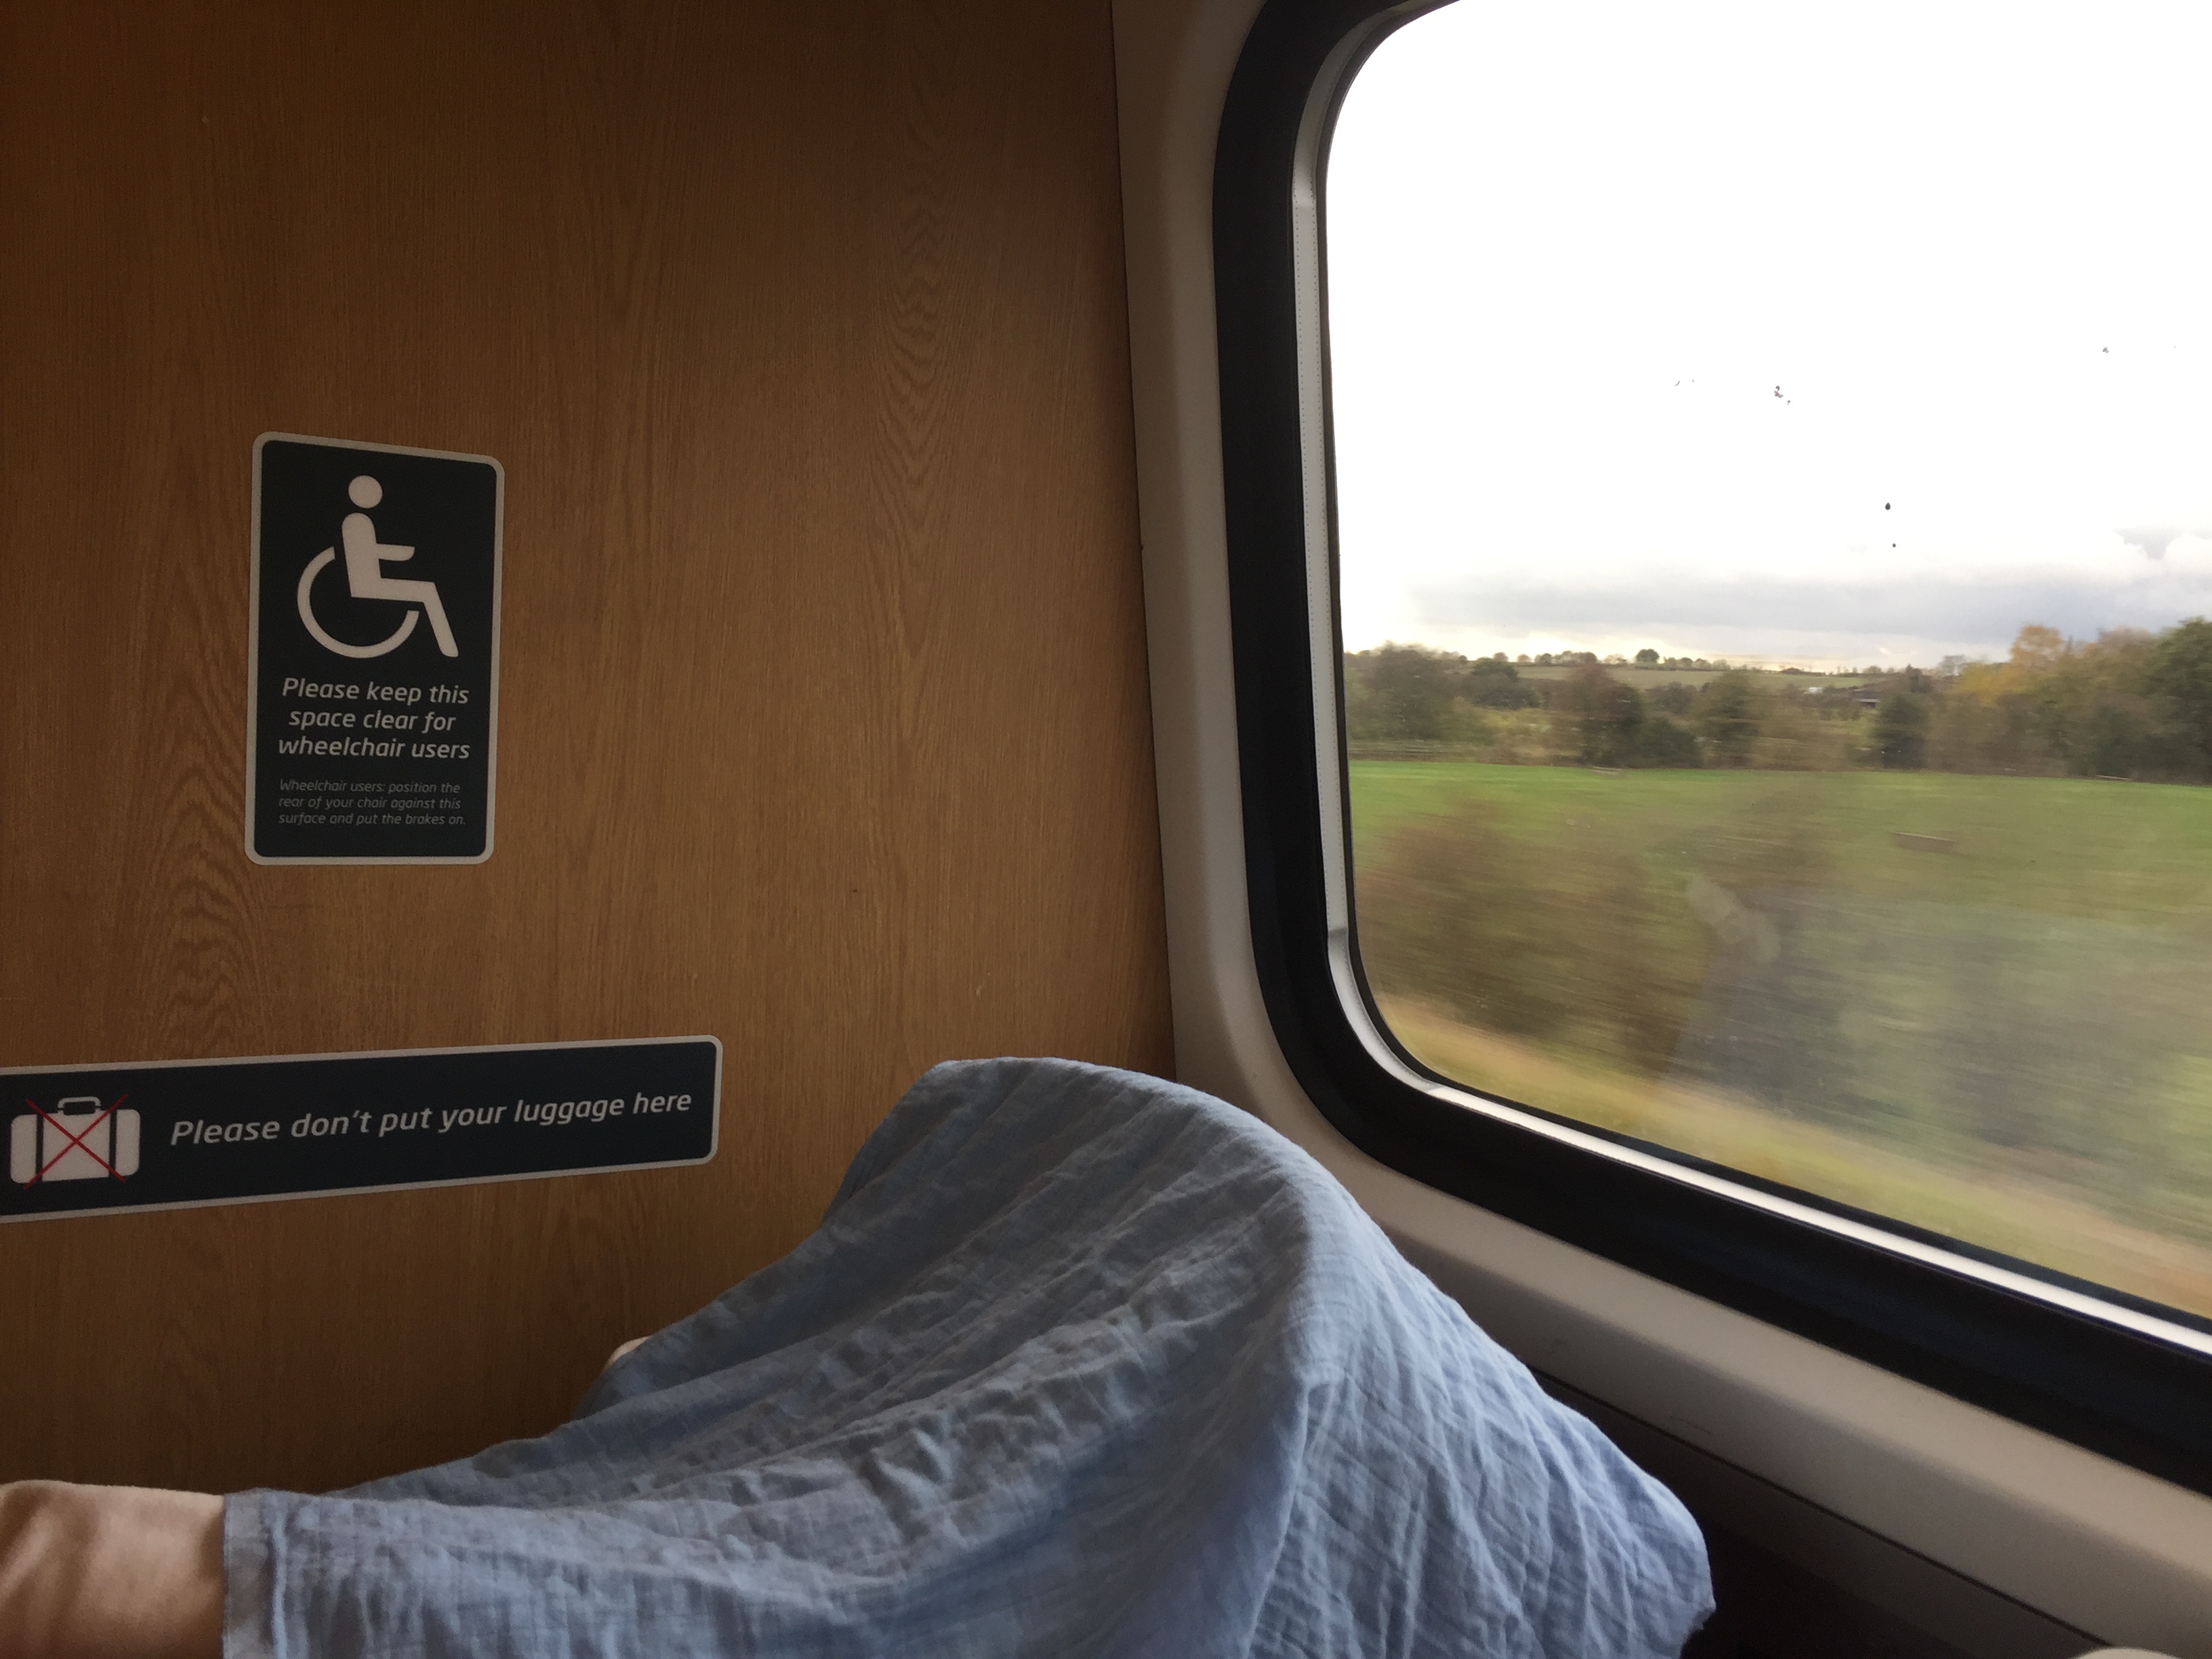
A pushchair with a cloth draped over it in the wheelchair area of a long-distance train, with the countryside rushing past outside.
Snoozing in the wheelchair area on a long-distance train.

If you can’t choose your actual seats when making a reservation (the case with the majority of operators), the next best thing is to select the ‘near the toilet’ option, as this will at least mean that you’ll be as close to the end of the carriage as possible. You might then have the option of leaving the pushchair unfolded, and standing with it while your baby sleeps, while at the same time keeping an eye on your stuff (less of an issue if you’re travelling with someone else of course).
This plan won’t work if the space between the carriages is small or if the train is busy, so be prepared to fold your pushchair. The underneath of the baby girl’s pushchair is perpetually in chaos, making it difficult to fold in a hurry, so before I set out on a train journey I try to remember to do an audit, taking out the non-essentials and making sure all the bits and bobs I might need are in one bag that I can quickly grab out of the pushchair and take with me to my seat. Travelling off-peak is always going to be preferable, but if that’s not an option consider leaving the pushchair at home. If you can get away with a sling instead you’ll have a much less stressful experience on a busy train.
A pram with a sleeping baby in the vestibule of a train.
The baby girl in her buggy in the area at the end of a train carriage.

In situations where you haven’t been able to reserve the seat you want, get to the platform as early as possible and ask a member of staff where the carriage with the wheelchair seats will be stopping, so you can be first to those seats. There’s a website and app called Realtime Trains that train staff use to get advance information on which platform trains are coming into – it’s a useful way to get ahead of the crowd on busy routes.
Once you’re seated, other things to consider are food and activities. I learnt the hard way that the staff in the café carriage can’t heat up baby food for you in the microwave – the ones on trains are too powerful apparently. They’ll give you hot water though, so heating up milk isn’t a problem. If you want to give your child hot solid food, pouches are a good idea.
A quick note about milk while I’m on the topic – while I’ve found breastfeeding to be far and away the most convenient option when it comes to travelling with a baby, the one situation in which I was glad to have a bottle with me was on an extremely busy train on the way to Hull when the baby girl was seven-weeks-old. It’s not impossible to breastfeed standing up on a tightly packed train, but it’s not ideal, especially if you’ve also got a couple of bags with you.
As far as activities are concerned, bring as many books and toys as you can bear to carry – it’s stating the obvious, but long train journeys are boring for small children. If you’ve nabbed those coveted wheelchair seats, put a picnic blanket on the floor to make a play area. The baby girl is only happy sitting on my lap for so long, and when she wants to be on the move, it’s easier to let that happen than to fight it.
Once you’ve reached your destination you may need to take a bus or, if you’re in London, the Underground. Check out my post on navigating public transport with a pushchair for tips on how to do that.