How to leave the house with a newborn

A smiling woman with a baby in a sling holds an ice cream cone.
Jubilant on an early solo outing with the baby girl.

Your newborn baby is probably not leaving you much free time to get things done, but it pays to get organised in advance, if you can. Being prepared ahead of time, rather than rushing to sort everything out just as you’re walking out the door, is key to reducing the stress of those first outings. (This advice holds good for older babies and toddlers too: having the baby girl’s bag and pushchair packed and ready to go makes getting out and about much easier; alas, I’m rarely as organised as I’d like to be. This is very much a case of do as I say, not as I do.)

If you’re taking your baby out in her pushchair, you’ll want a bag that will hang off the handles. Specialised changing bags are useful but by no means essential for this purpose – a lot of ordinary shoulder bags or shoppers will work just fine with a pair of pushchair clips (we use these ones from My Buggy Buddy). For journeys with a sling (often easier than a pushchair, and more comforting for very little babies – more about why slings are excellent in my ‘essential kit’ post on the subject), a backpack is almost certainly your most comfortable option.

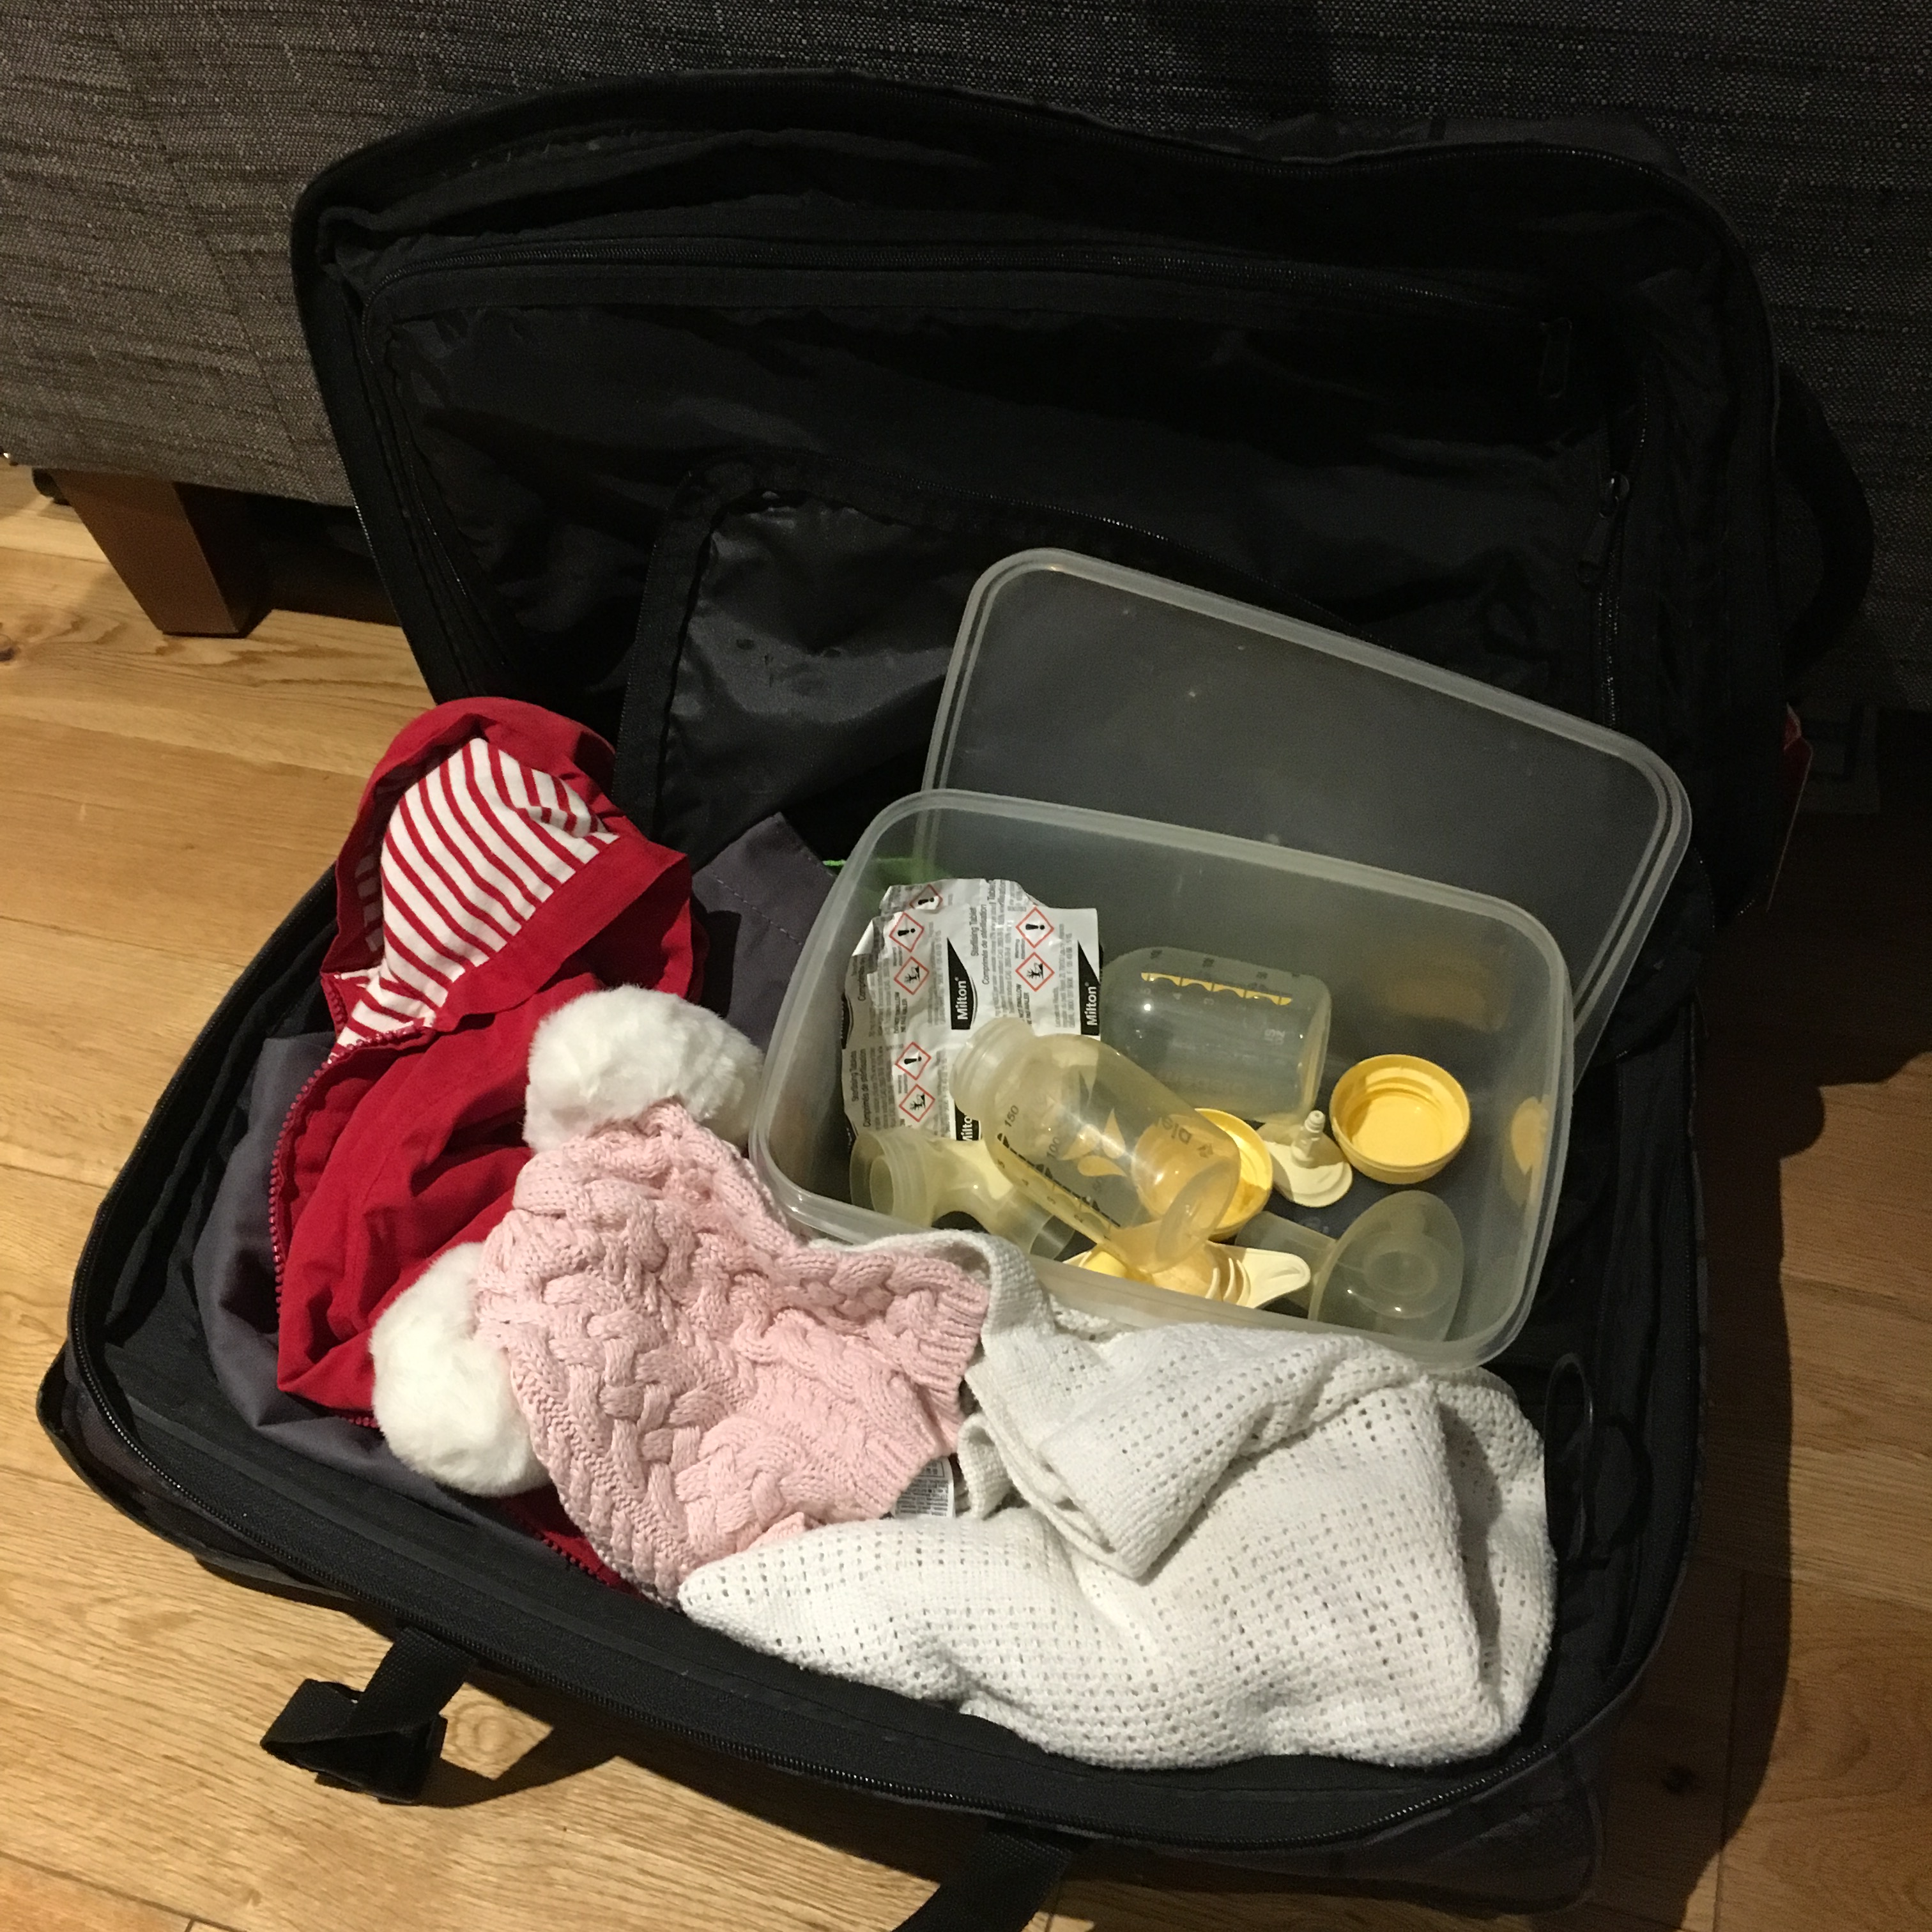
Either way (and it’s not a bad idea to prepare two bags so you’re ready to go with both sling and pushchair), here’s what you need:

  • nappy changing mat and wallet with a few nappies and wipes (plus nappy rash cream and nappy sacks if you use them)
  • a muslin square or two, depending on how pukey your baby is
  • spare outfit – vest, sleepsuit, jumper
  • hat
  • blanket
  • spare T-shirt/jumper for yourself in case the baby vomits on you in an impressive way

If you’re breastfeeding you’ll also need:

  • spare nursing pads
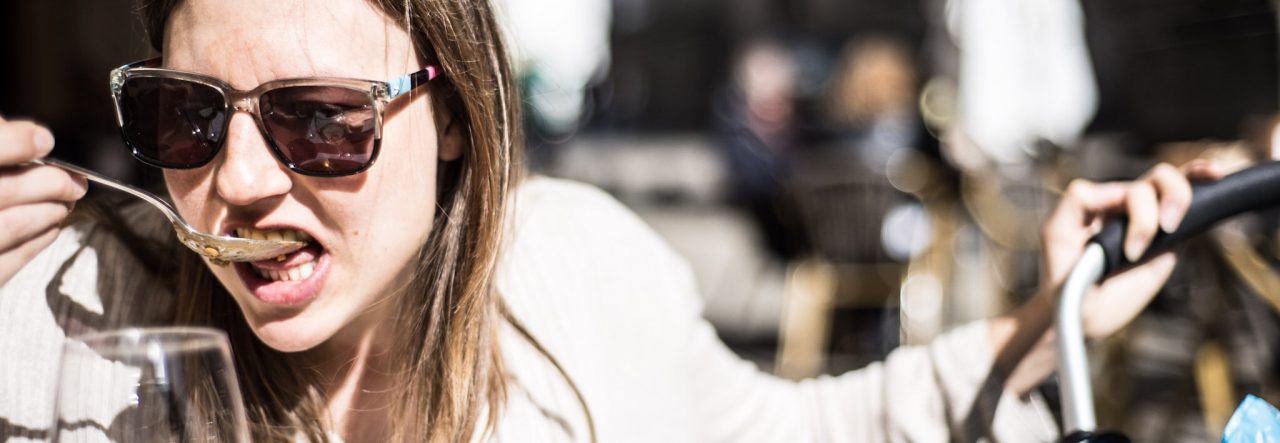
  • bottle of water and some snacks for yourself

If bottle-feeding:

  • sterilised bottle and teat
  • bottle of ready-made formula OR powder formula in small sterilised containers, plus a vacuum flask of just boiled water
  • bib

Optional extras:

  • if you’re recovering from an episiotomy, an inflatable ring cushion to sit on
  • if you’ve got long hair, a couple of hair ties
  • if your baby suffers from wind, Infacol
  • dummies
A father with a baby in sling holds a pushchair
At the bus stop before our first bus journey with the baby girl.

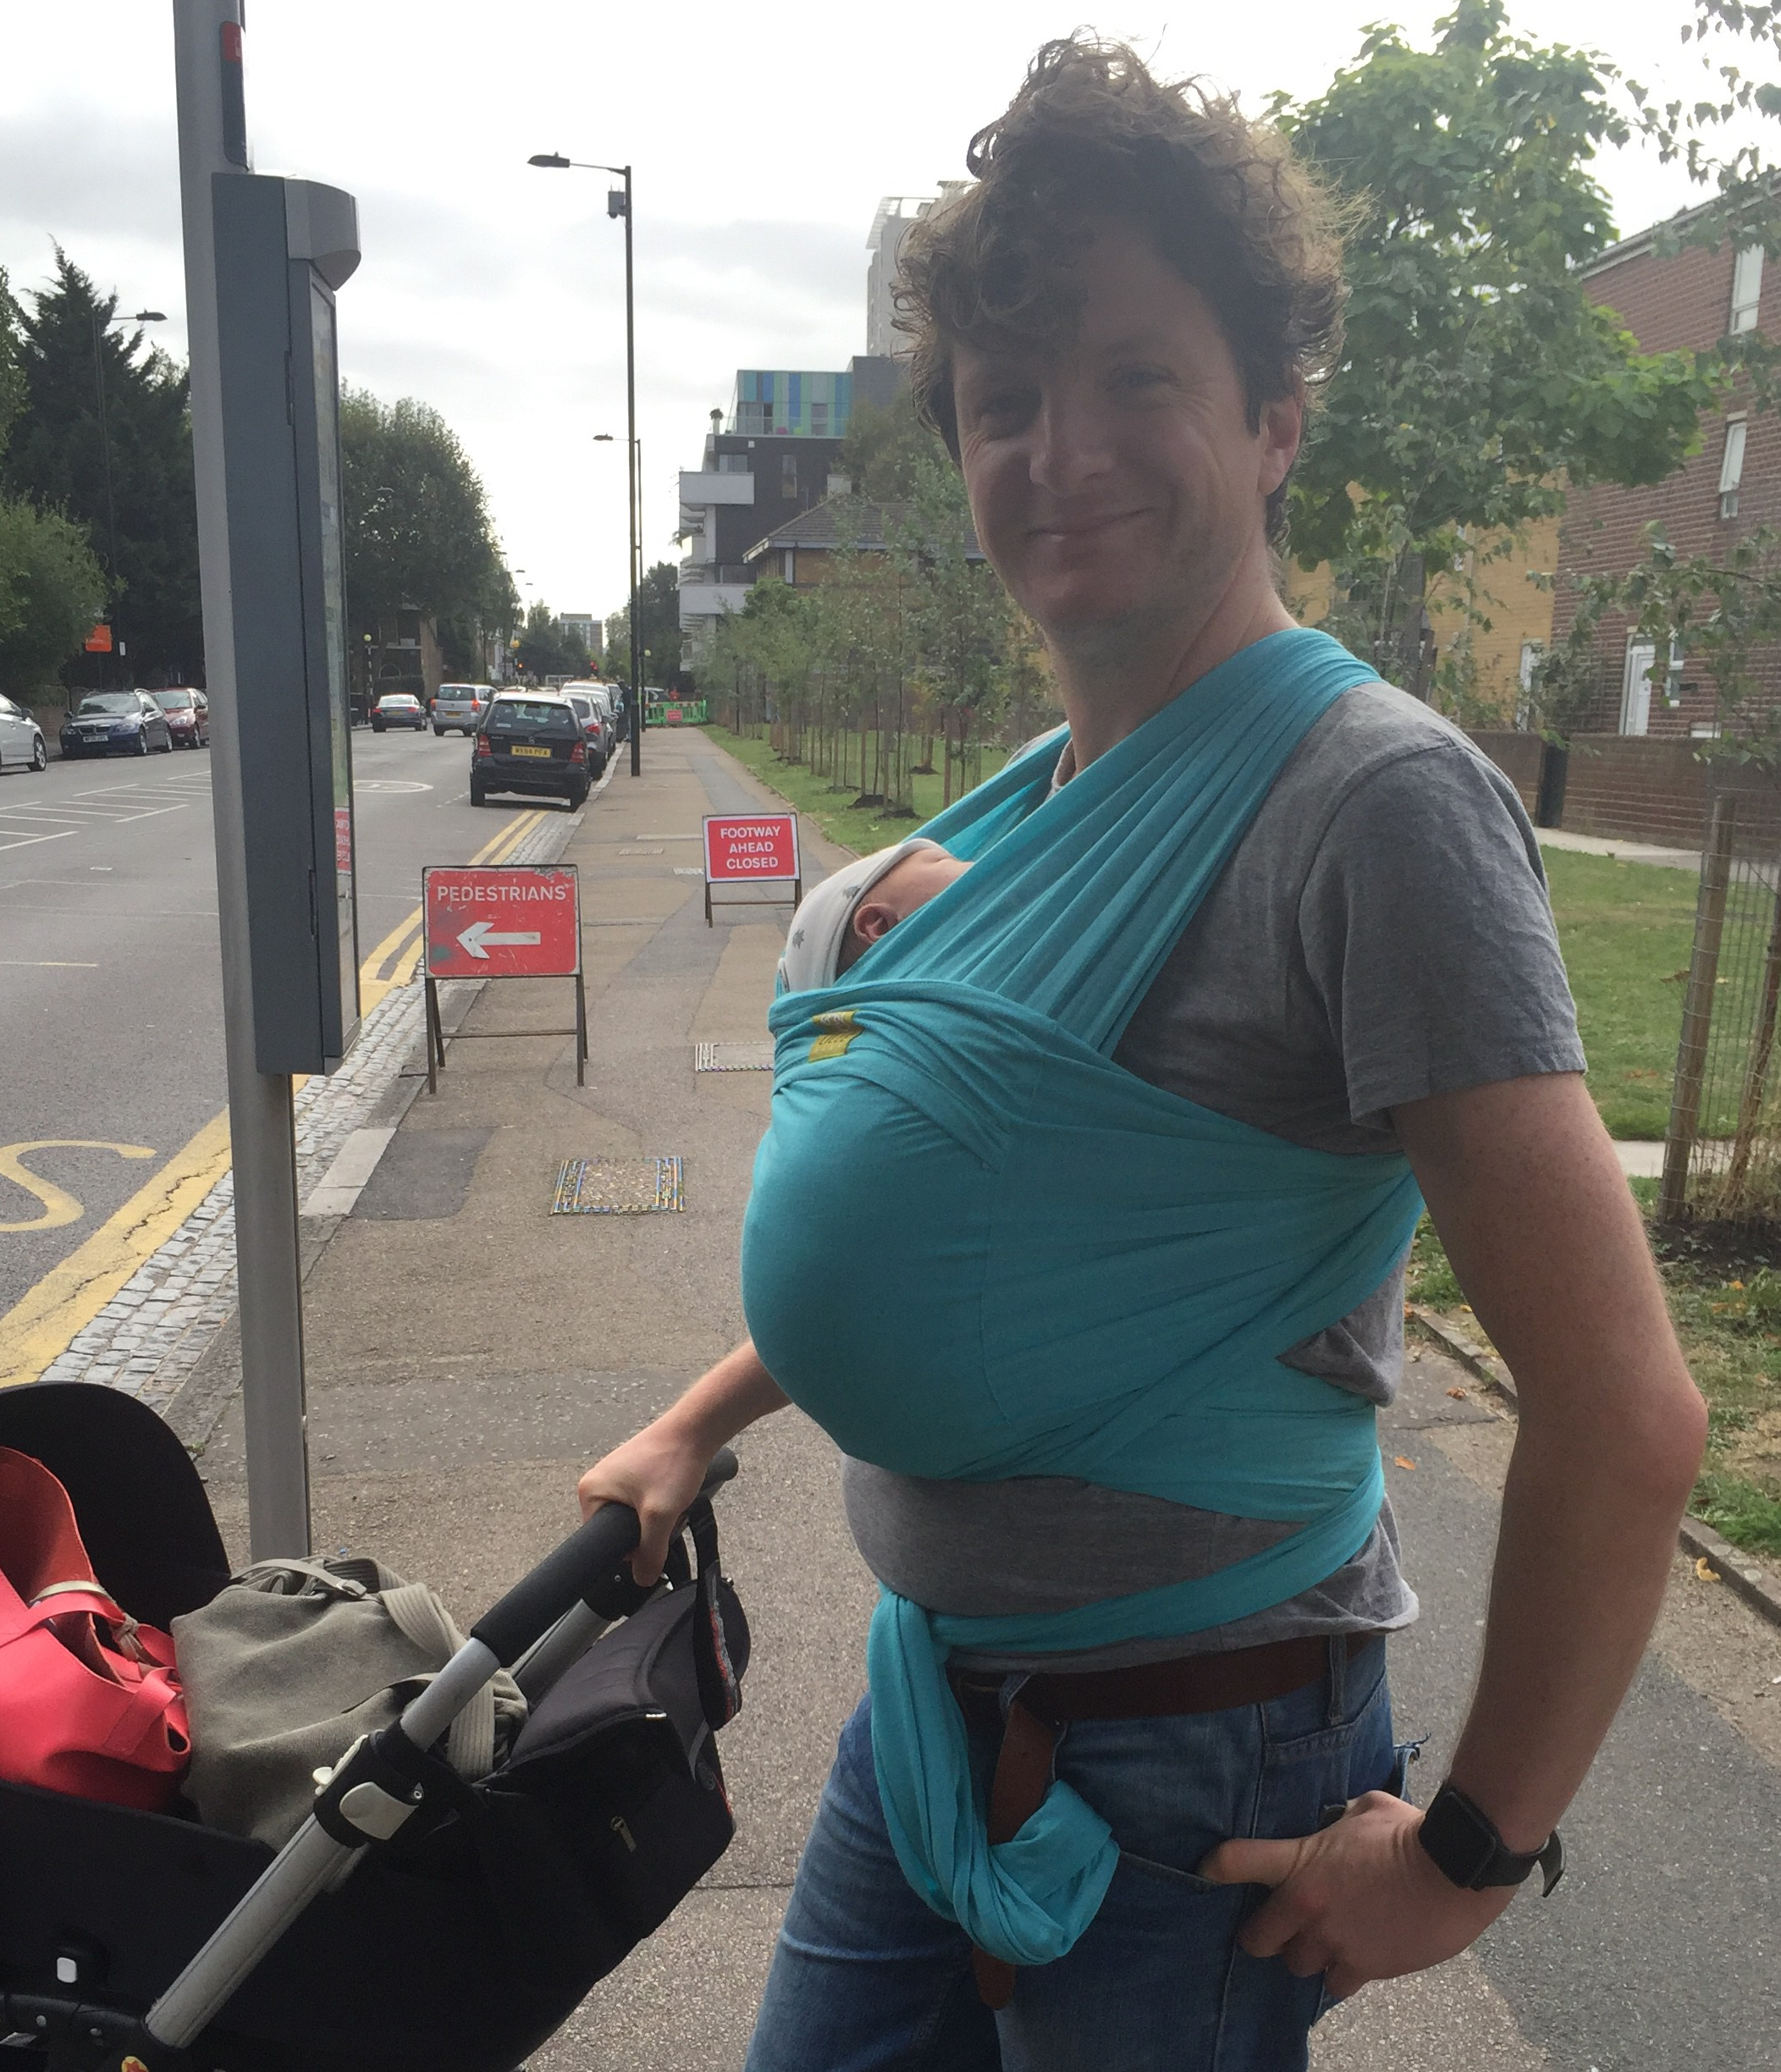
For trips with the pushchair make sure you’ve got the sling with you just in case your baby has a meltdown and you end up needing to carry her in your arms. It should fit in the basket under the pushchair with no difficulties, leaving plenty of space for a rain cover and a sleep shade (another piece of essential kit). Have your baby’s bag packed and hanging off the pushchair ready to go, along with a buggy organiser to hold essentials such as a phone, wallet, sunglasses, etc.

Have your baby’s warm outer layer, your own coat, and a pair of comfortable, slip-on shoes (I wore the same pair of ankle boots every time I left the house for the first three months of the baby girl’s life) ready by the door, and don’t worry at all about what else you’re wearing or if you’ve showered that day. You will almost certainly have puke on you, but that’s fine: no one will care – they will be too busy being impressed that you have made it out the door with such a tiny human in tow.

The best moment to attempt an outing is immediately after a feed, so you’ve got maximum time before you need to find somewhere to sit and get your boobs/a bottle out again. Check that everything is ready to go (including making up a bottle of formula if you know you’ll be feeding your baby very soon – otherwise, it’s safer to stick with making up a new bottle when you need it), change your baby’s nappy, cross your fingers that she doesn’t poo again as you’re walking out the door and leave the house as fast as you can. Good luck.


Hiking with a baby – tips and essential kit

I’m very much a fair weather walker. Various members of my family will happily set off up a hill in driving rain, but if there’s not at least a reasonable chance of it clearing up in the foreseeable future, count me out. I like hiking, but being soaked to the skin on a cloudy mountaintop just isn’t my idea of fun. I tell you this to make it clear that hiking with a baby isn’t just the preserve of hardcore walkers. If you enjoyed the occasional hike before your baby arrived, don’t be afraid to give it a go now that she’s here; as with all things baby-related, it’s just a matter of being prepared.

Slings and backpack carriers

A family goes hiking in the Lake District, the man in the foreground of the picture carrying a toddler in a baby carrier backpack.
Our first proper experience of hiking with the baby girl, climbing Lingmell in the Lake District

An all-terrain buggy will serve you well if you’re hiking with a baby in relatively flat countryside, but this post is really about the sorts of outdoor excursions that you wouldn’t attempt with a pushchair. For those, you’ll need a sling or baby carrier backpack. Which you choose depends on the age of your child, the type and duration of your walk and who’s doing the carrying. Don’t attempt a hike without some means of transporting your child, even if your toddler is a very confident walker; it’s highly unlikely she’ll be up for toddling along beside you for more than a few minutes and you’ll spend the rest of the walk carrying her in your arms.

We only started hiking with the baby girl when she was 10 months old, by which time she was big enough to fit into a backpack carrier. There are lots of different types available, but ours (which we picked up cheap in a charity shop) does up around the waist so there’s less pressure on the wearer’s shoulders, has lots of space for stowing all your other baby kit (of which more later) and a frame that means it stands up by itself, making loading and unloading the baby girl much easier.

The only trouble is that all of those useful features add weight and bulk – I’m fairly slim and only 164cm (5’ 4”) tall, and the carrier plus an increasingly heavy baby girl is too much for me. So my partner uses the backpack carrier and I use the lightweight sling, ideally with someone else carrying the rest of the baby gear (more on how brilliant slings are in this recent post). If it were just me, lugging the baby girl and all of both our stuff, I wouldn’t attempt a walk longer than an hour or so.

What to pack for hiking with a baby

A man goes hiking through a volcanic seaside landscape with a baby on his back on El Hierro in the Canary Islands
Hiking through the volcanic landscape east of the natural swimming pool at La Mactea

Whatever set up you opt for, you want to keep additional weight to a minimum, while ensuring you’re prepared for all eventualities. Take the lightest possible changing mat, a couple of nappies and a few wipes in a ziplock bag rather than your usual nappy change wallet. Spare clothes (including a hat) are essential, especially if your child is in a backpack carrier – you’ll warm up quickly as you walk, but your baby will be sitting still, exposed to the elements.

We eschew trousers and socks in favour of pyjamas with feet to stop the baby girl getting cold legs when her trousers inevitably ride up. Waterproof trousers to go over the top are a good idea if you’re walking anywhere with the possibility of rain. It might sound like overkill but for hikes in locations where the weather can quickly take a turn for the worse, it can’t hurt to bring a lightweight storm shelter.

Parents of rolling or crawling babies should consider packing a mat or blanket; breastfeeding mothers will appreciate having somewhere dry to sit too. If you’re bottle-feeding, ready-to-drink formula is much more convenient on the move than making it up from powder. Finally, keep a ready supply of snacks in your pockets that you can produce with a flourish as a solution to sudden onset baby crankiness – you’ll all have a much nicer time.

Route planning for hiking with a baby

Don’t be too ambitious when it comes to route planning for hiking with a baby, even if you’re an experienced walker. A hike that might have taken a couple of hours baby-free can easily become the work of an entire afternoon once you’ve factored in pauses for snacks; bottle or breastfeeding; giving parental shoulders a break; and pointing and laughing at sheep. Remember, too, that there’s no shame in cutting a walk short if things aren’t working out as planned.


Travel sterilising tips for new parents

The National Health Service recommends sterilising any feeding or expressing equipment that comes into contact with milk until your baby is a year old. So if you do any bottle feeding at all and are planning on spending time away from home with your baby before she turns one, you’ll need to invest in some travel sterilising equipment. Electric sterilisers aren’t exactly luggage friendly.

Even if you’re not planning on doing any bottle feeding at all, it’s a sensible precaution to take feeding and travel sterilising equipment and a couple of bottles of ready-mixed formula away with you if you’re travelling with an unweaned baby, particularly somewhere remote. In the unlikely event that something happens to get in the way of breastfeeding, you’ll want an alternative way of getting some milk down her.

The old-fashioned way

If you’re staying somewhere with a kitchen, boiling the bottles and other feeding and expressing gear in a saucepan on the stove is a good solution that doesn’t require any extra kit. Make sure there’s enough water to cover all the bits and pieces, check that there are no air bubbles trapped, and boil for five minutes. If you put the bottles together with their teats and lids and keep them in a clean container they’ll stay sterile for up to 24 hours.

Microwave sterilising

If you have access to a microwave (not all hotel rooms have them but it’s worth asking staff if there’s one you can use as and when), reusable microwave steamer bags are a quick and easy way to sterilise your baby’s things away from home. Different brands vary so follow the instructions on the packaging.

Microwave steamer bags can also come in handy out and about, with some service stations and museum cafes providing microwaves for use by the public.

Cold water travel sterilising

Essential kit for cold travel sterilising – feeding equipment, sterilising tablets, Tupperware box – in a partially packed suitcase filled with baby clothes
Essential kit for cold travel sterilising: feeding equipment, sterilising tablets, Tupperware box

A more labour-intensive route, though one which doesn’t require access to a stove or microwave, is cold water sterilising. There are two options available – tablets and fluid – and which one is best for you will depend on the circumstances of your trip.

They work in the same way: you make a solution and submerge your clean feeding equipment, again ensuring there are no air bubbles. The equipment is ready to use after the time specified on the packaging (15-30 minutes usually); there’s no need to rinse it, just shake off the excess solution. The items will stay sterile if left in the solution for up to 24 hours; after that point you have to make a fresh batch.

The tablets are extremely light and take up no space in your luggage but are less convenient to use. Each tablet is designed to be dissolved in a specific quantity of water (which varies brand to brand) so if you don’t have a container large enough you’ll need to do some sums and split the tablets accordingly. The fluid is heavier in your luggage but it’s easier to measure out the exact quantity you need.

Whether you opt for fluid or tablets, pack a Tupperware box big enough for your requirements, measuring how much it holds before you travel (pack a lid too – the solution can bleach fabrics so you don’t want it splashing around). You’ll also need a bottle brush and washing up liquid to clean the feeding equipment before you sterilise it.

Pre-sterilised bottles and liners

For those situations where all the above methods of travel sterilising are impossible – on a long-haul flight, for example – pre-sterilised bottles or liners and teats are a convenient solution. They’re wasteful and it’s an expensive way of doing things, but sometimes needs must.

How to sterilise your baby’s feeding equipment when you’re away from home

The NHS recommends sterilising any feeding or expressing equipment that comes into contact with milk until your baby is a year old. So if you do any bottle feeding at all and are planning on spending time away from home with your baby before she turns one, you need a portable way of sterilising her things. Even with the most generous baggage allowance in the world you’re not going to want to take your bulky plug-in electric steriliser on holiday.

If you’re staying somewhere with a kitchen, boiling the feeding equipment in a saucepan on the stove is a good solution that doesn’t require any extra kit. Make sure there’s enough water to cover the equipment, check that there are no air bubbles trapped, and boil for five minutes. If you put the bottles together with their teats and lids and keep them in a clean container, they’ll stay sterile for up to 24 hours.

An easier route, which doesn’t require access to a stove, is cold water, or chemical, sterilising. There are two options available – tablets and fluid – and which one is best for you will depend on the circumstances of your trip.

They work in the same way: you make a solution and submerge your clean feeding equipment, again ensuring there are no air bubbles. The equipment is ready to use after the time specified on the label (15-30 minutes usually); there’s no need to rinse it, just shake off the excess solution. The items will stay sterile if left in the solution for up to 24 hours; after that point you have to make a fresh batch.

The tablets are extremely light and take up no space in your luggage but are less convenient to use. Each tablet is designed to be dissolved in a specific quantity of water (which varies brand to brand) so if you don’t have a container large enough you’ll need to do some sums and split the tablets accordingly. The fluid is heavier in your luggage but it’s easier to measure out the exact quantity you need.

Whether you opt for fluid or tablets, pack a Tupperware box big enough for your requirements, measuring how much it holds before you travel (pack a lid too – the solution can bleach fabrics so you don’t want it splashing around). You’ll also need a bottle brush and washing up liquid to clean the feeding equipment before you sterilise it, though I’ve been known to use shower gel for the purpose.

Even if you’re not planning on doing any bottle feeding at all, it’s a sensible precaution to take feeding equipment and a couple of bottles of ready-mixed formula away with you if you’re travelling with an unweaned baby, particularly somewhere remote. In the unlikely event that something happens to get in the way of breastfeeding, you’ll want an alternative way of getting some milk down her.

Essential kit for cold sterilising – feeding equipment, sterilising tablets, Tupperware box – in a partially packed suitcase filled with baby clothes
Essential kit for cold sterilising: feeding equipment, sterilising tablets, Tupperware box